Capsule House Installation: Site and Utilities
Who does what during a capsule house installation: responsibility matrix, day-by-day programme, and the site readiness list that must be complete first.
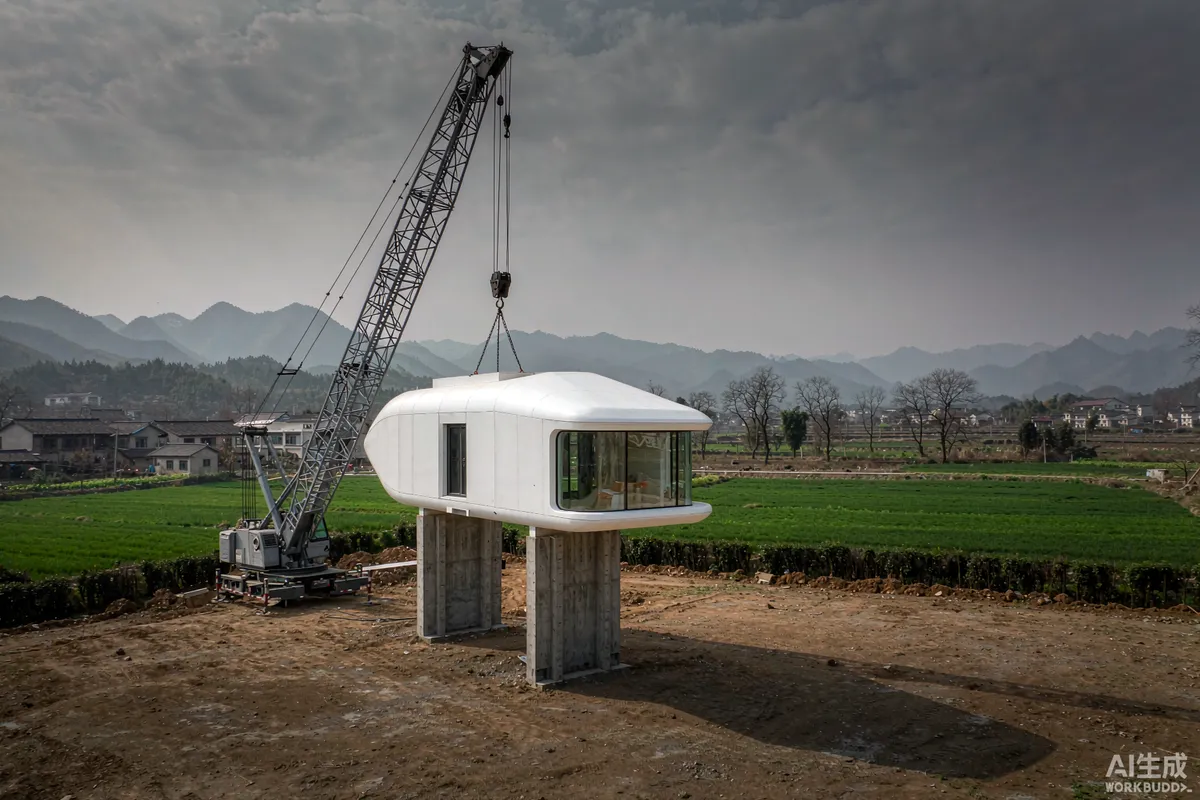
Installation is where a well-run order and a badly-run order diverge, and the difference is almost never technical. It is coordination: who has to be on site, in what order, with what already finished. A capsule house arrives complete, which compresses the on-site programme dramatically - and that compression means there is far less slack to absorb a missing permit, an unfinished access road or a contractor who was never told which day to attend. This page sets out the responsibility split, a realistic sequence, and the readiness list.
The Responsibility Matrix
Write this down before the order, not during the installation. Every disputed day I have seen traces back to an assumption that someone else was handling a task.
| Task | Usually responsible | Prerequisite |
|---|---|---|
| Unit production and factory testing | Factory | Approved specification and drawings |
| Export packing and loading | Factory / forwarder | Confirmed transport dimensions and weight |
| International freight | Forwarder | Booking, and correct commercial documents |
| Import clearance and duties | Owner or appointed broker | Correct classification and local registration |
| Inland transport to site | Owner / local haulier | Route survey, permits for abnormal loads |
| Site access and ground preparation | Owner / local contractor | Completed before delivery date |
| Foundation construction | Local contractor | Foundation drawing from the factory, and local ground conditions |
| Crane and placement | Owner / local lift contractor | Confirmed weight, lift plan and ground bearing |
| Utility connection | Local licensed trades | Connection points on the MEP sheet |
| Commissioning and handover | Joint | All of the above complete |
The pattern is consistent: the factory controls everything up to the point the unit leaves, and the owner controls almost everything after. The two handover boundaries - loading, and arrival on site - are where problems concentrate.
A Realistic Day-by-Day Programme
The following assumes the unit is already in the country and the site is prepared. It is a planning template rather than a promise; local conditions change it.
- Day -30 to -7. Confirm transport route and any permits, book the crane, confirm foundation drawing against local ground conditions, and order any locally supplied materials.
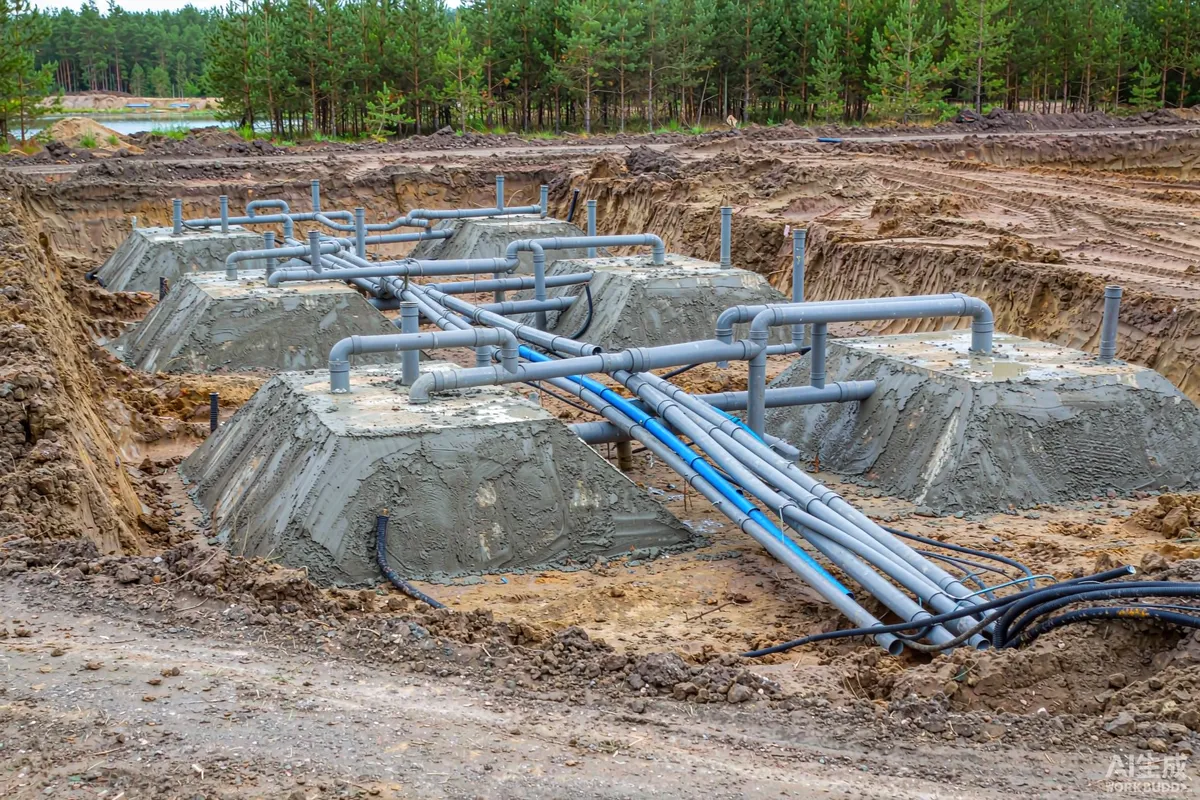
- Day -7 to -1. Complete the foundation and allow it to reach its required strength, complete utility runs to the connection point, and verify access for the delivery vehicle and the crane.
- Day 1. Unit arrives. Inspect before unloading and photograph any transport damage in place, before it is moved. Unload and set down.
- Day 1-2. Crane into final position, level and anchor. Any expandable sections are deployed.
- Day 2-3. Connect water, drainage and electrical supply. Pressure test and energise.
- Day 3-4. Commission heating, cooling, ventilation, appliances and any monitoring. Test the wet room.
- Day 4-5. Snagging walk, rectification, and handover of documentation.
Two cautions. Foundation cure time is the most frequently compressed step and the most damaging to compress. And crane availability is a booking, not a given - it should be reserved as early as the delivery date is known.
Site Readiness Checklist
Every item here should be complete before the delivery vehicle is dispatched. Anything unfinished on this list is the usual cause of a failed placement day.
- Access route verified for the actual vehicle: width, height, gradient, surface strength, and gate or bridge limits.
- Turning and set-down space confirmed, not assumed from a map.
- Foundation complete and cured, with levels verified against the drawing.
- Crane position and ground bearing checked; outrigger loads are significant.
- Overhead obstructions identified - power lines and tree canopy are the two that stop lifts.
- Utilities brought to the connection point shown on the MEP sheet, with isolation fitted.
- Drainage connection completed and tested.
- Electrical supply available at the correct voltage and frequency for commissioning.
- Local trades booked for the connection days, with a named person.
- Permits and approvals in hand where placement requires them.
- Weather window considered - high wind stops crane work.
- Someone with authority on site to accept or reject on the day.
The Two Handover Boundaries
Most cost overruns and most arguments occur at the two points where responsibility transfers.
- At loading. Condition and packing. Photographs of the packed unit and its seals are the evidence base if damage is later found. Record weight and dimensions here too.
- At arrival. Inspect before unloading, and before the haulier leaves. Damage noted afterwards is far harder to attribute. Our article on freight damage claims covers the documentation that makes a claim viable.

The Commissioning Sequence
Commissioning is not a single switch-on. It is a short sequence, and running it out of order hides faults rather than revealing them.
- Visual inspection first, before anything is energised. Check for transport movement, loose fixings and any sign of water ingress.
- Then water. Fill, pressurise and observe joints over a period rather than a moment. Slow leaks do not appear in sixty seconds.
- Then electrical, in stages. Lighting and sockets first, then fixed appliances, then heating and cooling under load.
- Then the wet room under real use - run the shower for the length of an actual shower.
- Finally, everything together. Peak load is where undersized supplies and shared circuits reveal themselves.
Record the result against the unit serial number and keep it with the handover pack. A unit with a commissioning record is straightforward to insure, to warrant and eventually to sell; one without is not.
The Pre-Delivery Site Meeting
One meeting, held about two weeks before the delivery date, prevents a large share of installation problems. It should be attended by whoever is responsible for the foundation, the lift, the utility connections and the site itself - and it should happen on site, not on a call.
- Walk the access route from the public road to the set-down point, in the vehicle type that will be used if possible. Note anything that has changed since the route survey.
- Confirm the set-down position and the crane position as marked on the ground, and check that both are still clear of materials and spoil.
- Verify foundation levels against the drawing, with the actual unit dimensions in hand rather than from memory.
- Walk the service route from the connection point to the utility source, and confirm the isolation points are fitted and labelled.
- Agree the sequence and the decision-maker for placement day, including who has authority to stop the lift if conditions change.
- Confirm the contact arrangement for the factory during commissioning, including time zone overlap, because questions will arise while the unit is being energised.
Minutes are worth keeping even on a small project. When something goes wrong, the record of what was agreed and by whom is what resolves it quickly.
Documentation to Collect on Installation Day
The paperwork generated during installation is what makes warranty, insurance and any future sale straightforward. Collect it as it is produced rather than trying to reconstruct it later.
- Delivery note and condition report, signed at the point of unloading, with photographs of any damage in place.
- Packed weight and dimensions as declared, recorded against the unit serial number.
- Lift plan and crane documentation, where a lift contractor requires it.
- Foundation records - levels, and any concrete or structural test results the local engineer requires.
- Electrical and plumbing test results from commissioning, signed by whoever performed them.
- Serial numbers and model references for installed appliances, since warranty runs from these.
- Asset register entry with the unit's position on site, photographs and commissioning date.
- Snagging list agreed in writing, with responsibility and a date for each item.
This collection is unglamorous and takes perhaps an hour across the programme. Its absence is the single most common reason a warranty claim becomes protracted rather than routine.
What Not to Compress
Three items are regularly value-engineered out of the programme and regularly cause trouble.
- Foundation cure time. Placing on an uncured foundation risks movement that shows up as door and glazing misalignment.
- Route survey. A route checked on a screen rather than driven is the classic cause of a delivery turned back.
- Commissioning time. A unit energised and handed over without a full functional test generates call-backs that cost more than the day saved.
Detailed treatments of the individual engineering steps sit in their own articles: foundation and site preparation, water supply and drainage setup, and delivery access and crane planning. The overall installation sequence is also summarised in our installation guide. For a programme review on a specific site, send us the site conditions.
More from the Blog

Capsule Home Cost Guide: What You Really Pay in 2026
EXW, shipping, install and the hidden line items — a transparent breakdown of total landed cost.
Read article →
How to Install a Capsule Home in 3 Days: A Step-by-Step Guide
From site prep to first guest — the exact sequence our install crews follow on every deployment.
Read article →
Real Owners, Real Numbers: Success Stories
How a lakeside resort, a Spanish glamping site and a Singapore dealer hit their targets.
Read stories →Talk to the Factory
Ready to Ride the 2026 Wave?
Get the latest catalog, pricing tiers and a layout sketch for your land — straight from the engineering team.