Water Supply and Drainage for a Capsule Home: A Setup Guide
Mains, tank or rainwater; soakaway, septic or holding tank. How to plan and connect water and drainage for a capsule home site.
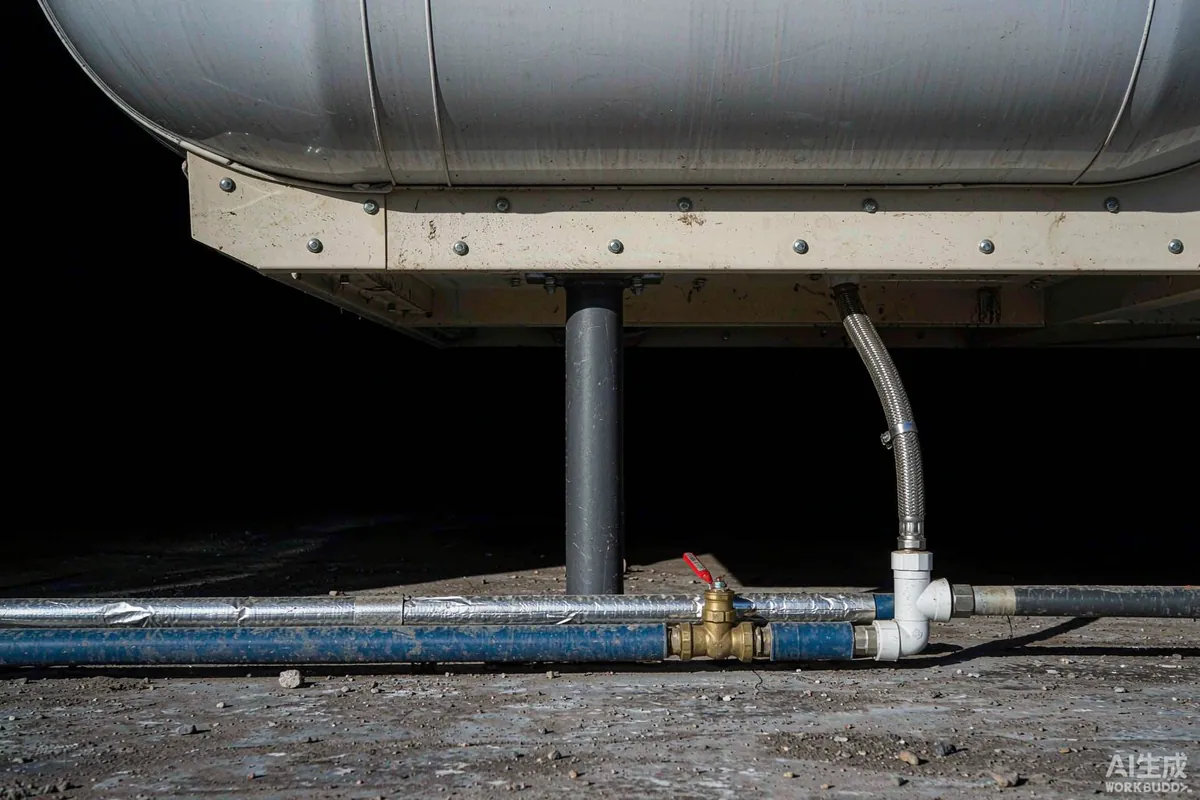
Your capsule home arrives with its internal plumbing finished. What you have to solve on site is three things: where the water comes from, where it goes, and how the two connect to the unit without freezing, leaking or being impossible to service. Plan supply and drainage before the foundation is built, because the route, the fall and the connection point all have to exist before the unit is set down - and retrofitting any of them afterwards means working under a finished building.
The Short Answer
Choose a supply first - mains where available, otherwise a stored supply from a tank, borehole or rainwater capture sized to your use pattern. Then choose a drainage route - mains sewer, a treatment system, or a holding tank - based on what your site and your authority allow. Then bring both to a single, accessible, protected connection point near the unit, sized and lagged correctly, with an isolator you can reach.
Step 1: Establish the Demand
Before you size anything, work out the pattern rather than the average. A unit occupied by two people year-round, a holiday let with back-to-back changeovers, and a weekend-only retreat all produce very different peak demands - and storage and drainage are sized for peaks.
- Occupancy. How many people, and how many consecutive days at full occupancy?
- Use pattern. Continuous, weekly turnover, or intermittent?
- Fixtures. Shower, basin, kitchen sink, toilet, and whether there is a washing machine or an outdoor tap.
- Climate. Whether pipes need frost protection, and whether rainwater capture is realistic across the year.
Step 2: Choose the Supply
| Option | Best for | What to plan |
|---|---|---|
| Mains connection | Serviced plots and permanent homes | Connection charge, meter position, pipe route and trench depth |
| Stored tank, filled by delivery | Remote sites without a reliable source | Tank capacity against delivery frequency, access for the tanker |
| Borehole or well | Sites with a viable aquifer | Yield testing, treatment, pump and power, and any local abstraction rules |
| Rainwater capture | Supplementing another source, irrigation, non-potable use | Roof area and seasonal rainfall, filtration, first-flush diversion, storage |
Rainwater is worth treating as a supplement rather than a sole potable source unless you have designed the whole system for it - filtration, first-flush diversion and, where it is used for drinking, appropriate treatment. Requirements may vary by application, market and applicable standard.
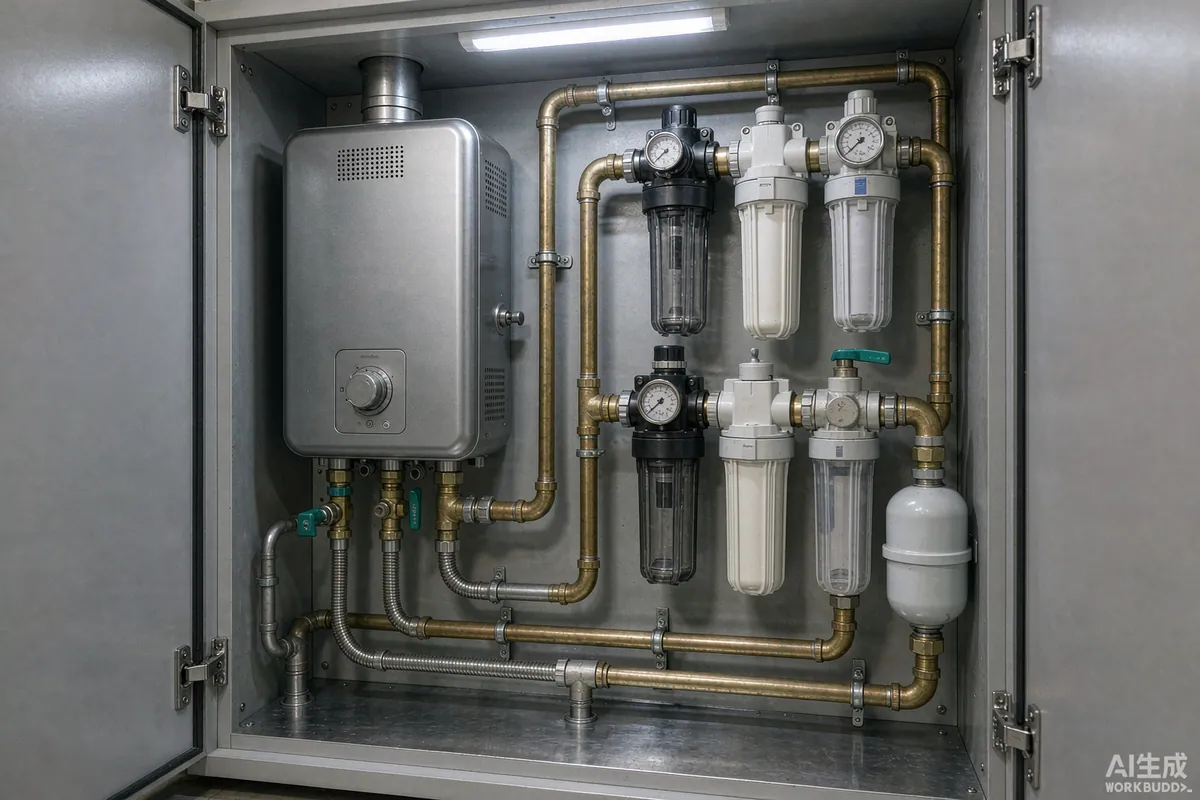
Whichever you choose, fit a filter and an isolator at the point of entry, and make sure both are reachable. The number of plumbing problems that become expensive is directly proportional to how inaccessible the isolator is.
Step 3: Choose the Drainage Route
Drainage is the part most likely to be constrained by rules rather than by engineering, so establish what is permitted before you design anything.
Mains sewer
Simplest where available. Confirm the connection point, the required fall, and whether a backflow prevention device is required.
On-site treatment system
Suits permanent or frequent use on unserviced plots. Needs a suitable area, appropriate ground conditions, power in most cases, and a maintenance and emptying schedule.
Soakaway for greywater
Appropriate for water from sinks and showers where local rules permit. Needs a properly sized soakaway with adequate ground permeability, sited away from the unit, from water sources and from boundaries.
Holding tank
The flexible option where discharge is restricted. Plan the capacity against emptying frequency, and make sure a tanker can actually reach it - a tank that cannot be emptied is a problem within weeks.
Separating greywater from blackwater widens your options and, in some places, is what makes a simple system permissible at all.
Step 4: Plan the Connection Point
Bring supply and drainage to one place near where the unit will sit, and get four things right.
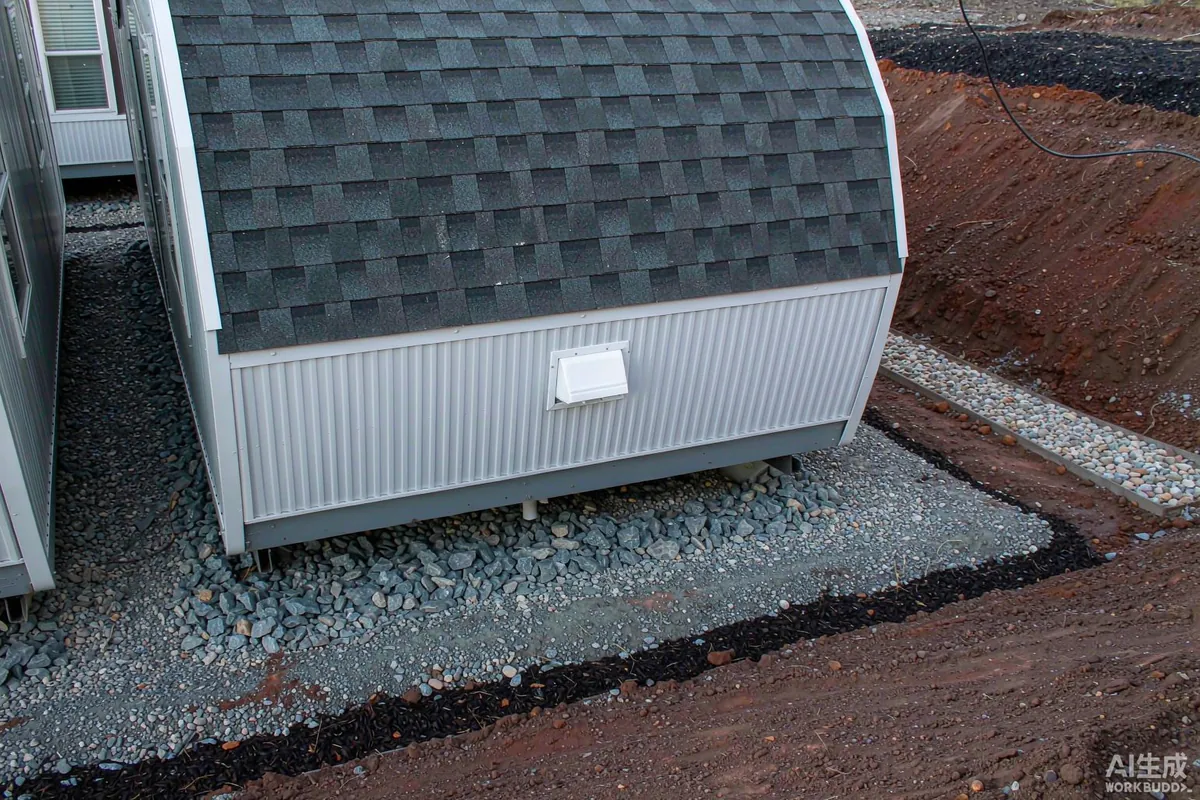
- Position. Below or immediately beside the unit, matching the connection points the factory specifies - confirm these before the pad is built.
- Access. Leave room to reach the isolator, the connections and any trap or clean-out. A service cupboard or an accessible void is worth designing in.
- Protection. Lag all external pipework in frost climates, and use flexible connections so minor settlement does not crack a rigid joint.
- Fall. Drainage needs a continuous fall to its destination; there are no level runs in a working drain.
Step 5: Frost and Heat
In cold climates the failure mode is a frozen pipe, usually at the exposed section between the ground and the unit. Keep the external run short, lag it properly, and avoid routing it where cold air funnels. If the unit stands empty in winter, ask the supplier what the recommended drain-down procedure is and follow it - or maintain a low background heat with the system monitored.
In hot climates the concern is different: pipes in direct sun, and stagnant water in a tank. Shade the runs, and size storage so that water is actually turned over rather than sitting.
Step 6: Commission and Test
- Pressure-test the supply side and check every joint before the connections are concealed.
- Run every fixture and watch the drainage discharge - not just that it drains, but where it goes.
- Check the isolator actually isolates, and that you can reach it without tools.
- Photograph the connections before anything is covered, and keep the photographs with the documentation.
- Confirm the hot water temperature and any anti-scald provision, particularly on a rental unit.
Common Mistakes
- Designing drainage after the pad is built, when the fall is already wrong.
- An isolator buried behind a panel or under a deck.
- No frost protection on the exposed section.
- Rigid connections that crack when the unit settles a few millimetres.
- A holding tank sited where the emptying vehicle cannot reach.
- Assuming rainwater alone can meet a full-occupancy demand year-round.
Water Quality and Treatment
Whatever the source, decide what treatment it needs rather than assuming. Mains water usually needs nothing beyond a sediment filter, though a filter is still worth fitting to protect appliances and to give you a serviceable point you control. Stored, borehole or rainwater supplies need more thought: sediment, and depending on the source and the intended use, disinfection. If water will be used for drinking, have it tested and treat to the standard that applies in your area. Requirements may vary by application, market and applicable standard.
Hard water is the other common issue, and it is a maintenance and equipment-life question rather than a health one. Scale shortens the life of heating elements and fixtures, and it shows quickly on glass and tiling in a small bathroom. A softener or a scale-inhibition cartridge is much cheaper than replacing a water heater early.
Whichever treatment you fit, put it where it can be serviced. A filter that requires dismantling joinery to reach will not be changed on schedule, and an unchanged filter is worse than none at all because nobody remembers it is there.
The Takeaway
Water and drainage are site problems, not unit problems, and they are much cheaper to solve before delivery than after. Establish what is permitted, choose the supply and the discharge route, bring both to one protected and accessible point, then test properly on commissioning day. Ask the factory where the connection points are while the pad is still being designed - that one question prevents most of the rework.
More from the Blog

Capsule Home Cost Guide: What You Really Pay in 2026
EXW, shipping, install and the hidden line items — a transparent breakdown of total landed cost.
Read article →
How to Install a Capsule Home in 3 Days: A Step-by-Step Guide
From site prep to first guest — the exact sequence our install crews follow on every deployment.
Read article →
Real Owners, Real Numbers: Success Stories
How a lakeside resort, a Spanish glamping site and a Singapore dealer hit their targets.
Read stories →Talk to the Factory
Ready to Ride the 2026 Wave?
Get the latest catalog, pricing tiers and a layout sketch for your land — straight from the engineering team.