Snow and Wind Loads: What Capsule Home Buyers Should Confirm
Ground snow load and design wind speed decide whether a capsule home suits your site. Learn which numbers to collect and what to ask your supplier before ordering.
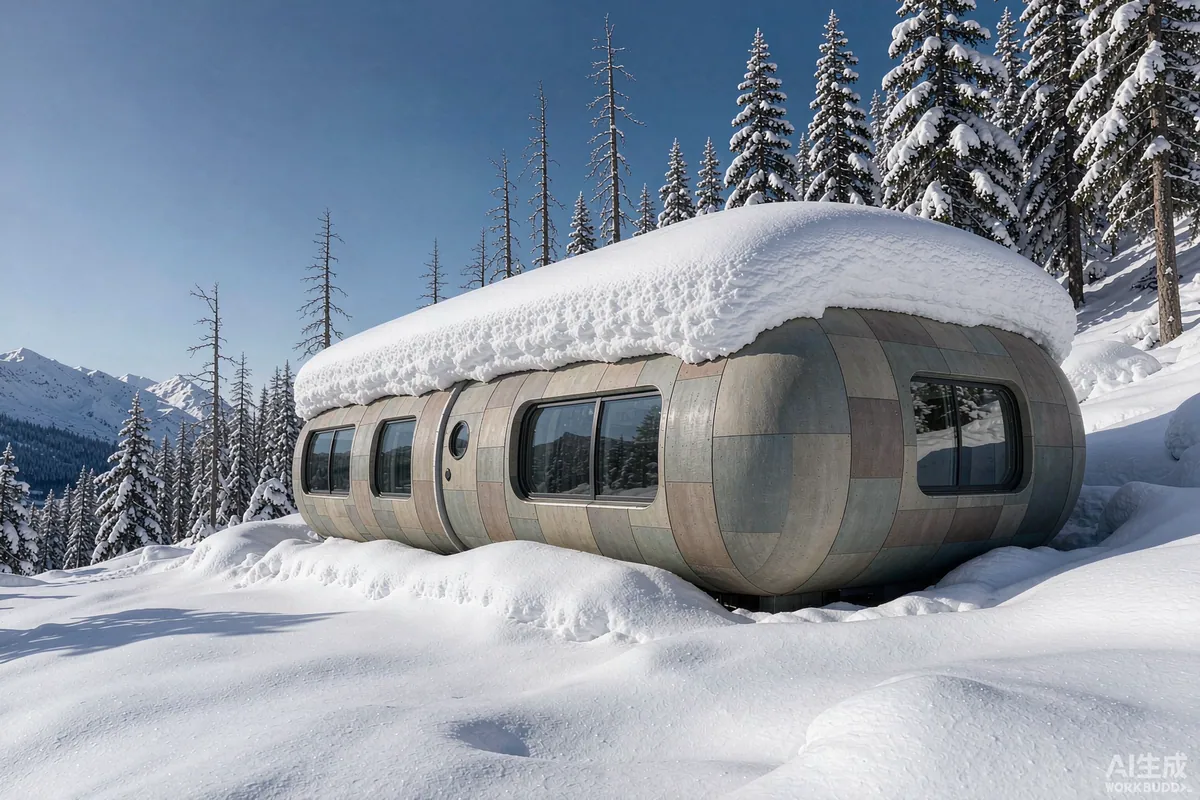
Two numbers decide whether a capsule home is a good fit for your site: the ground snow load and the design wind speed. A third - the exposure or terrain category - changes how those two are applied. Collect all three before you place an order, and give them to the supplier with the enquiry. Everything downstream - roof geometry, frame section, connection detail and how the unit is anchored - follows from them. Requirements may vary by application, market and applicable standard, so treat local design values as the authority and the supplier's drawings as the starting point for that review.
The Short Answer
Capsule homes are engineered steel structures and are routinely used on exposed and cold sites, but they are not identical in how they handle load. A flat-ish roof on a coastal headland and a pitched roof in an alpine valley ask for different things. If your site has meaningful snow or wind, say so at quotation stage and ask what the unit is designed for. The cost of getting this right during engineering is small; the cost of discovering it later is not.
The Three Numbers to Collect First
- Ground snow load. The weight of snow the ground is expected to carry, usually expressed as a load per unit area. Your local building department or an engineer can give you the value used in your area.
- Design wind speed. A reference speed for your location. It feeds both the pressure on the walls and, critically, the uplift on the roof.
- Exposure or terrain category. Open coastal plain, open countryside, suburban and forested sites all modify wind differently. A sheltered woodland plot and an exposed cliff of the same region are not the same problem.
If your plot is unusual - a ridge, a saddle, a steep slope, the top of a coastal bluff - mention it. Local topography can increase wind significantly and a generic value may understate it.
How Loads Travel Through the Unit
Snow: downward, then sideways
Snow arrives as a downward load on the roof, which transfers into the frame and then into the support points and the ground below. Two details matter: whether snow can slide off rather than accumulate, and whether drifting against a wall or in a corner creates an uneven load. Uneven loading is harder on a structure than uniform loading, which is why site layout and orientation also count.
Wind: sideways, and upward
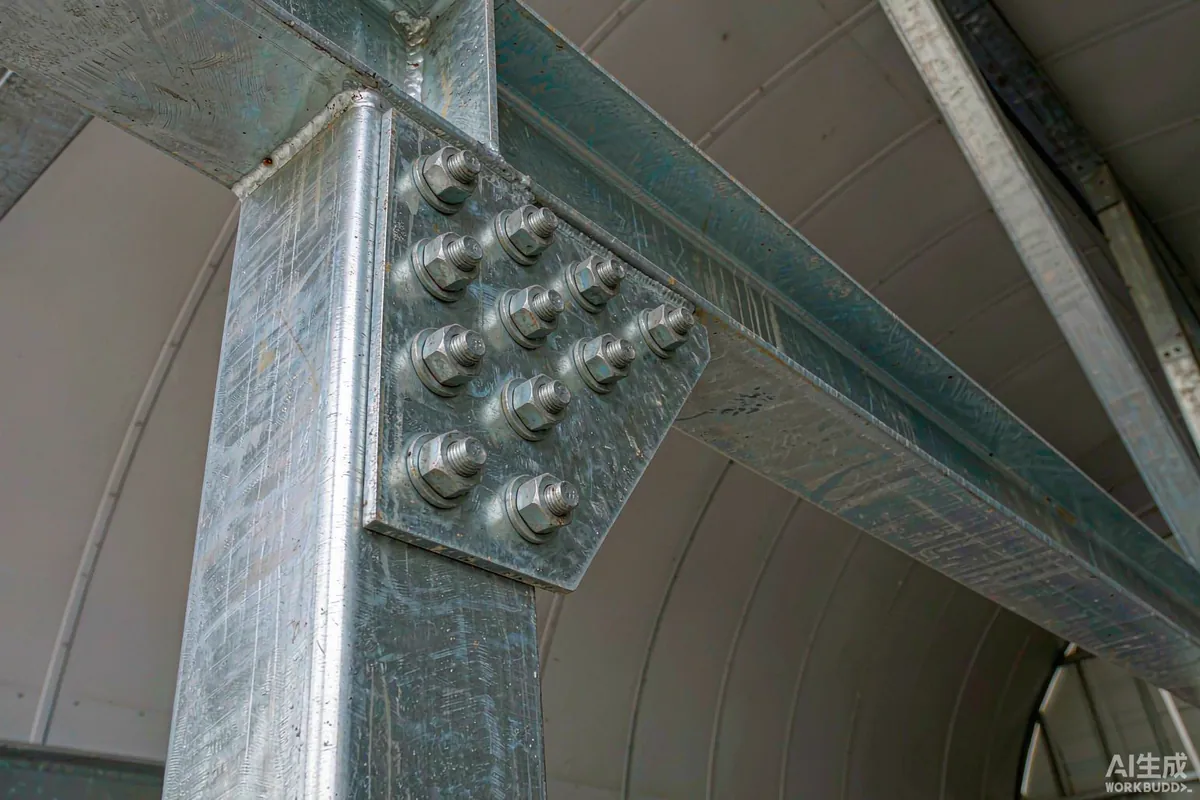
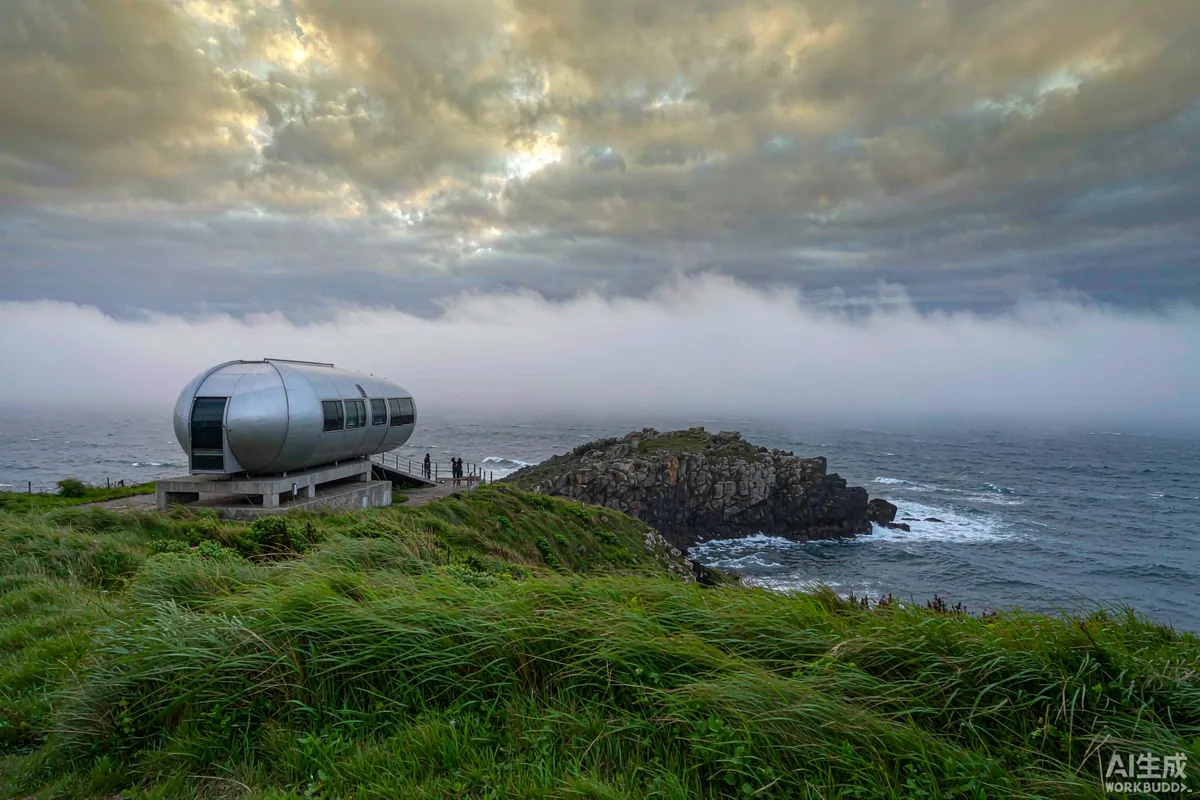
Wind pushes on the windward wall, creates suction on the leeward wall and over the roof, and tries to lift the whole unit. Uplift is the governing case on exposed sites and it is resisted by the anchoring - the connection between the chassis or frame and the piers, screws or slab below. Ask specifically how anchoring is specified for your wind value.
Snow: What to Check
- Roof geometry. Does the shape shed snow or hold it? Curved and sloped forms generally shed better than flat ones.
- Drift zones. Where will snow pile up against the unit or between two units? Plan the layout so drifting does not build against an entrance.
- Eaves and drainage. Melt water needs somewhere to go. Frozen gutters and ice at the entrance are practical problems long before they are structural ones.
- Access in winter. If the site is occupied year-round, plan a path that can be cleared and a service route for delivery and waste.
- Roof loading from use. A rooftop terrace changes the load case. Confirm what the roof is designed to carry before adding anything to it.
Wind: What to Check
- Anchoring method. How the unit is fixed to piers, ground screws or a slab, and what pull-out resistance that connection relies on.
- Glazing rating. Large panes on the windward face take the highest pressure. Confirm the glazing build-up is appropriate for the site.
- Door performance. An outward-opening door on a windward elevation is a lever. Check the hardware and the latching.
- Additions. Decks, awnings, pergolas and roof-mounted equipment all add wind load and are frequently the first thing to fail.
- Surroundings. Trees provide shelter and also produce debris. Assess both.
Site Strategies That Reduce Risk
- Use the landform. A hedge, a berm or a slight change of level can reduce exposure without any structural cost.
- Orient the small end to the prevailing wind. Less surface area facing the wind means less pressure.
- Keep units spaced. In multi-unit layouts, spacing avoids both drifting and wind funnelling between pods.
- Avoid ridge tops if you have a choice. The view is better; the loads are too.
- Plan drainage before the pad. Water management is cheaper to build in than to retrofit.
Questions to Put to Your Supplier
| Ask | Why it matters |
|---|---|
| What snow load is this unit designed for? | Tells you whether the roof and frame suit your region at all |
| What wind speed, and at what exposure category? | A speed without an exposure category is only half an answer |
| How is the unit anchored, and to what foundation? | Uplift is resisted at the connection, not in the frame |
| Can the anchoring be upgraded for my site? | Often a small change if requested during engineering |
| What is the glazing build-up? | The largest and weakest area under wind pressure |
| What documents come with the unit? | Your local reviewer will want something to read |
Multi-Unit Layouts Change the Load Case
One unit on an open plot is a simpler problem than six on the same plot. Groups of buildings interact with wind and snow in ways that a single-unit assessment will not capture, and this is where resort and camp layouts most often go wrong.
- Funnelling. Two units placed close together with a gap between them can accelerate wind through the gap. Align rows carefully and avoid long, narrow channels facing the prevailing wind.
- Drifting. Snow drifting between units can build to a depth that neither unit's individual design assumed. Spacing and orientation determine where drifts form, and entrances should not be on the drift side.
- Sheltering. Upwind units shelter those behind them, which is helpful for the sheltered units and irrelevant to the exposed ones. Design the exposed row for the full load rather than averaging.
- Shared additions. Connecting decks, walkways and canopies transfer load between units and need their own engineering.
- Fire separation. Spacing decisions are rarely driven only by structure; check the separation requirement that applies in your area too.
If you are planning more than two or three units, ask for the layout to be reviewed with the loading assumptions stated. It is a small amount of work compared with repositioning units after delivery.
Documentation and Local Review
What your authority needs varies. Some jurisdictions treat a factory-built unit as a building and review it like any other; others classify it closer to a movable structure or a recreational unit. Ask the authority which applies before you order, and ask what documentation it expects - structural calculations, drawings, an engineer's stamp, or a third-party review. Getting this answer early can change the model and the foundation decision, and it is far cheaper to adjust at that point. Requirements may vary by application, market and applicable standard.
The Takeaway
Cold and exposed sites are well within the range of a properly engineered capsule home, but the site has to be described honestly at quotation stage. Bring the snow load, the wind speed and the exposure category, describe the topography, and let the engineering answer follow. That single conversation prevents most of the problems buyers associate with weather.
More from the Blog

Capsule Home Cost Guide: What You Really Pay in 2026
EXW, shipping, install and the hidden line items — a transparent breakdown of total landed cost.
Read article →
How to Install a Capsule Home in 3 Days: A Step-by-Step Guide
From site prep to first guest — the exact sequence our install crews follow on every deployment.
Read article →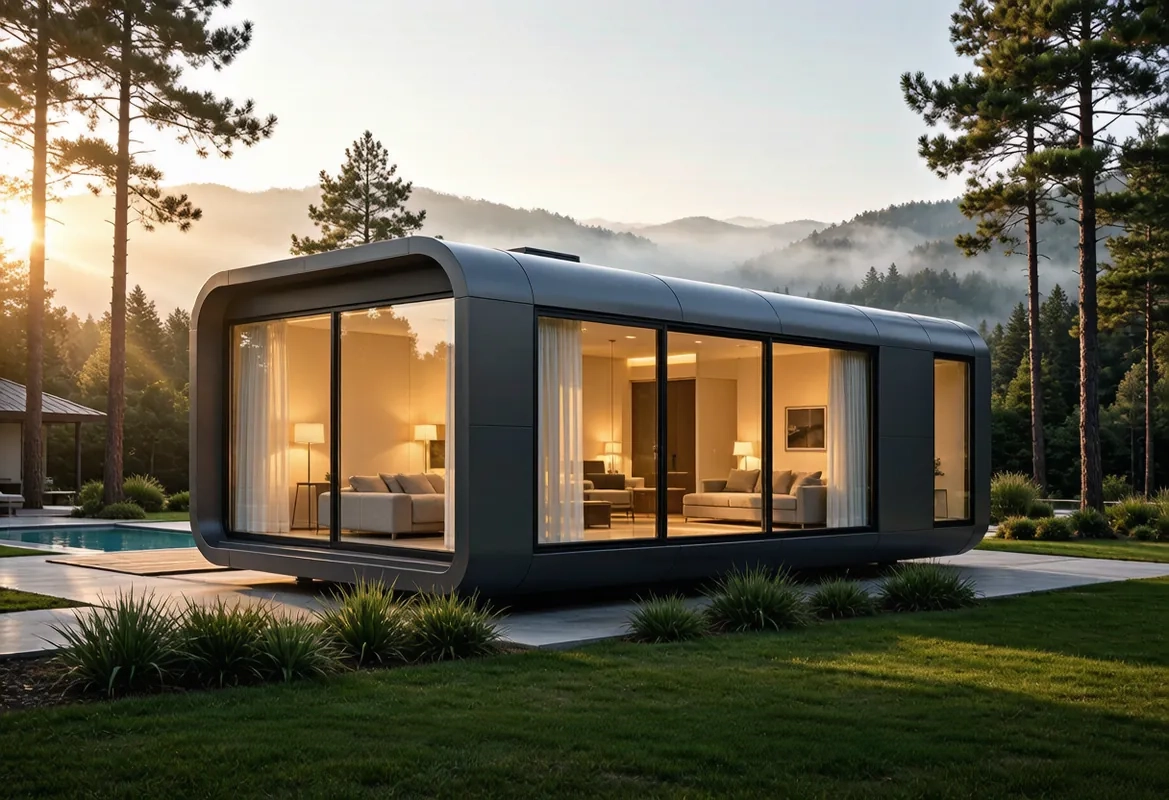
Real Owners, Real Numbers: Success Stories
How a lakeside resort, a Spanish glamping site and a Singapore dealer hit their targets.
Read stories →Talk to the Factory
Ready to Ride the 2026 Wave?
Get the latest catalog, pricing tiers and a layout sketch for your land — straight from the engineering team.