Photographing a Capsule Home Rental: What Sells the Stay
Small spaces photograph badly by default. Lighting, timing, lens choice and the shots that actually convert for a capsule home listing.
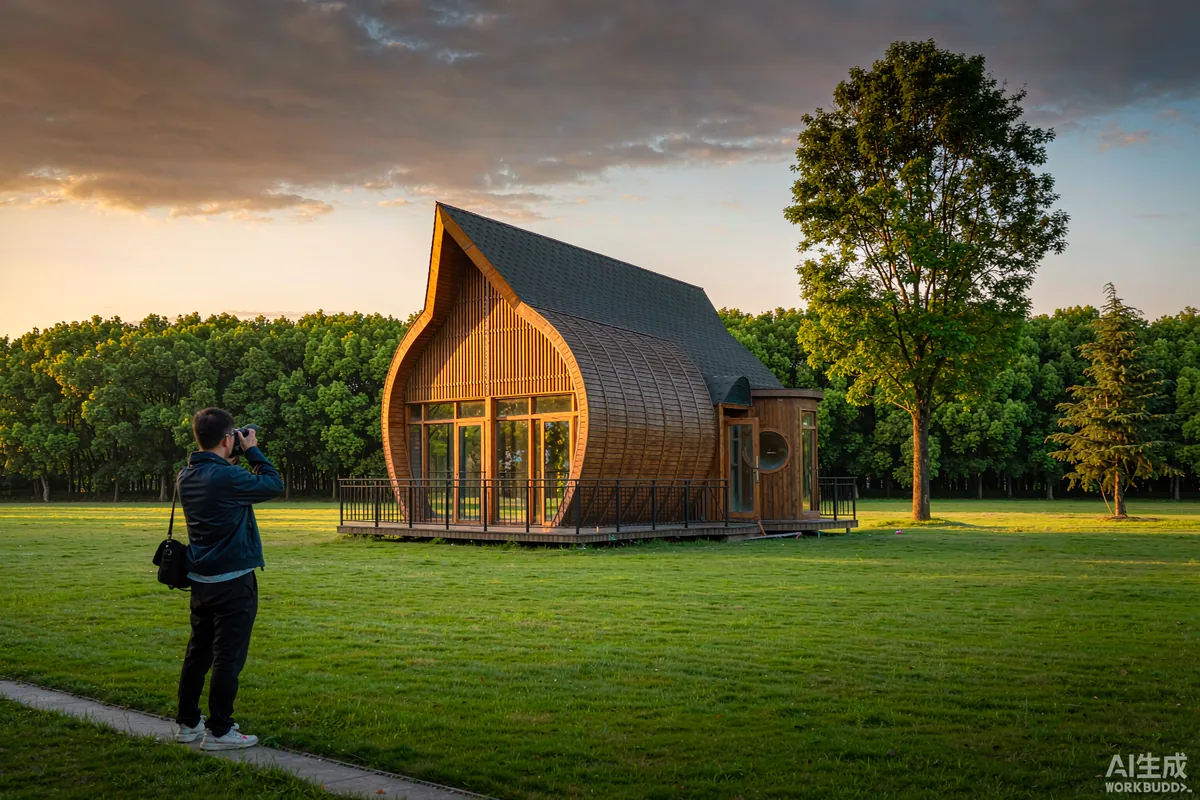
Small spaces photograph badly unless you work at it, and a capsule home is the hardest kind of small space: highly reflective glass, a bright window on one side and a dark interior on the other, and a floor area that a wide phone lens turns into something unrecognisable. The fix is not better equipment - it is timing, restraint, and choosing shots that answer the questions a guest actually has. Bookings follow photographs that make the space feel larger, brighter and unambiguous about what it is.
The Short Answer
Shoot the exterior at golden hour with the interior lights on, shoot the interior in daylight with the curtains open and every light on, use a lens wide enough to show a room but not so wide that it distorts, and include honest context shots - the entrance, the parking, the view, the bathroom. Then lead with the single image that shows what makes this unit different.
Before You Shoot
- Clean and stage. Clear surfaces, make the bed properly, remove personal items and hide bins and cables.
- Open everything. Curtains and blinds fully open; interior lights on, even in daylight.
- Turn off screens and remove anything with a logo that is not yours.
- Check the exterior. Move vehicles, coil hoses, close the service cupboard, and cut the grass if it needs it.
- Pick the day. Overcast-bright is more forgiving than harsh sun for interiors; clear is better for the hero exterior.
The Shot List
| Shot | Purpose | Tips |
|---|---|---|
| Hero exterior at dusk or dawn | The image guests remember and the one that leads the listing | Interior lights on, sky still blue, unit centred and level |
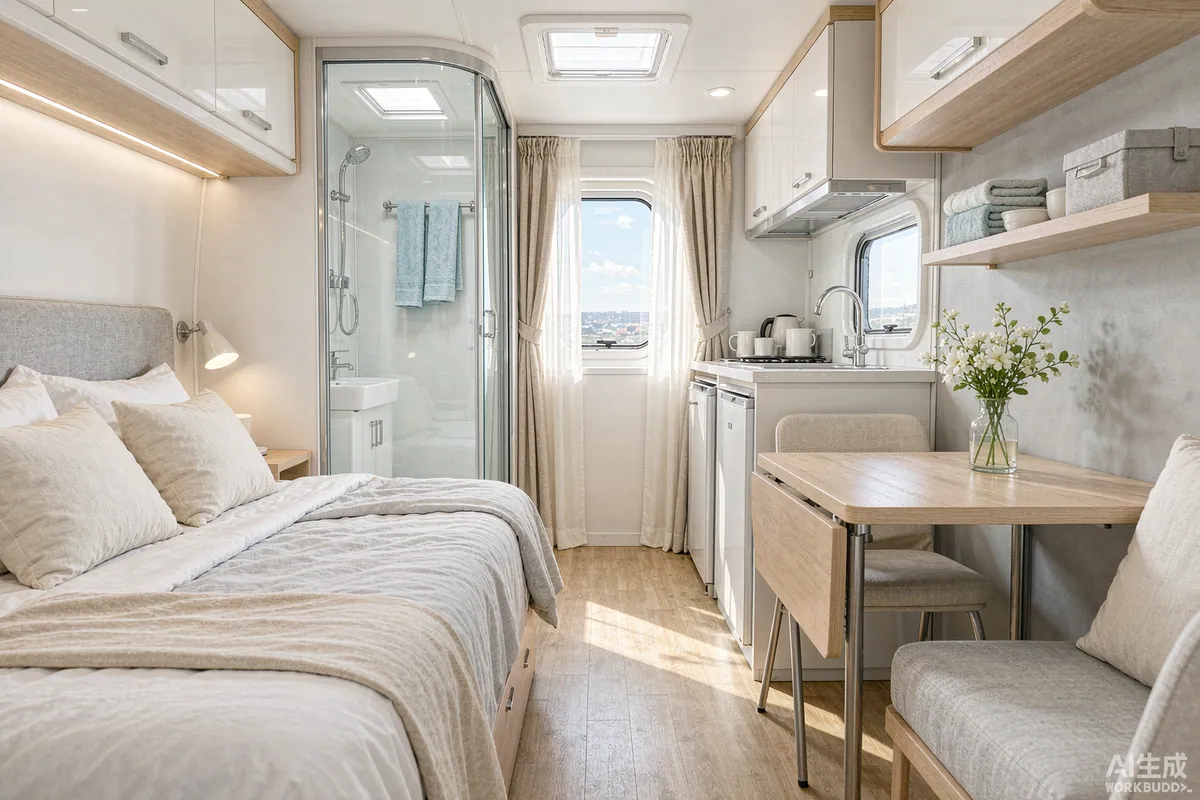
| Main living space, wide | Answers "how big is it really?" | Shoot from a corner, include two walls, keep the verticals upright |
| The view from the glass | The reason people book a capsule home | Shoot from inside looking out, on a clear day |
| Sleeping area | Comfort and cleanliness | Made bed, symmetrical, no clutter, natural light if possible |
| Bathroom or wet room | The most-checked room in any listing | Clean, dry, closed toilet lid, fresh towels |
| Kitchenette | Sets expectations about self-catering | Show the appliances that are actually included |
| Entrance and approach | Reduces arrival anxiety | Show the path, the parking and the lighting |
| Context and surroundings | Answers "where am I?" | One or two honest wide shots; do not hide the neighbours |
Handling the Glass
Panoramic glazing is the selling point and the technical problem. Three techniques handle most of it:
- Expose for the interior, let the window go bright. A slightly blown window reads as "light-filled". Exposing for the view instead produces a dark, uninviting room.
- Use the reflection deliberately. At dusk, the glass becomes a mirror that shows the warm interior - which is exactly the image you want.
- Clean the glass, both sides. Smears are far more visible on a large pane than on a small window.
Bracket exposures if your camera allows it, but do not over-process. Heavy HDR on a small space produces the flat, artificial look that makes experienced guests suspicious.
Making a Small Space Read as Larger
- Shoot from a corner rather than straight at a wall - two walls in frame give a sense of volume.
- Keep the camera at roughly chest height, not eye height. Too high makes a small room feel like a dollhouse.
- Keep vertical lines vertical. Tilting the camera up or down is what makes interiors look wrong.
- Use a moderate wide angle. Extreme wide lenses distort, and a guest who arrives and finds the room smaller than it looked will say so in a review.
- Remove furniture that crowds the frame. One fewer chair makes a bigger difference than any lens choice.
- Include a person in one or two shots - scale, used honestly, reassures rather than deceives.
Timing and Sequence
Do interiors in the middle of the day when the light is even, and exteriors in the hour around sunrise or sunset. If you only have one visit, prioritise the dusk exterior - it is the image that carries the listing - then shoot the interiors on the same trip with every light on.
Shoot the approach and parking last, in daylight, and shoot them honestly. Guests arriving in the dark to an unlit, unmade path is a common source of the reviews that cost the most.
What Not to Do
- Do not use a fisheye or an extreme wide lens to exaggerate the space.
- Do not shoot with the curtains closed - it reads as dark and small.
- Do not over-edit the colour. Guests notice, and the view will not match.
- Do not hide the surroundings. Surprise at arrival is what drives poor reviews.
- Do not shoot in the rain unless rain is the product.
- Do not use a drone without checking what is permitted locally.
After the Shoot
Select tightly - twelve to twenty strong images outperform forty mediocre ones. Lead with the hero exterior, follow with the living space and the view, then the bedroom and bathroom, then the practical shots. Write captions that answer questions rather than describe the obvious: what the parking is like, how far the nearest shop is, whether the path is lit. And re-shoot seasonally if your setting changes dramatically - a winter listing using summer photographs is a complaint waiting to happen.
Video, Floor Plans and Captions
Photographs carry the listing, but two additions reliably improve conversion. The first is a short walkthrough video - thirty to sixty seconds, shot in one continuous move from the entrance through the space to the window, with the sound off and steady hands or a gimbal. Its job is not to be cinematic; it is to answer the question photographs cannot, which is how the space connects. Guests deciding between two similar units will watch the video of both.
The second is a simple floor plan. A dimensioned plan with the furniture shown does more for trust than any wide-angle photograph, because it lets a guest check whether a cot, a desk or a wheelchair will actually fit. It also reduces the complaints that come from expectations rather than from the product.
Captions are the third lever and the most underused. Write them to answer a question rather than to describe the image: where the parking is, how far it is to the nearest shop, whether the approach is lit, and what the heating is. A guest who arrives knowing what to expect reviews the stay; one who arrives surprised reviews the listing.
The Takeaway
Good capsule home photography is mostly discipline: clean and stage, shoot at the right hour, keep the verticals upright, and be honest about size and surroundings. Get the dusk exterior right and the rest follows. If you are specifying a unit for letting, tell the supplier it will be photographed - lighting positions and exterior lighting are easier to plan into the build than to add later.
More from the Blog
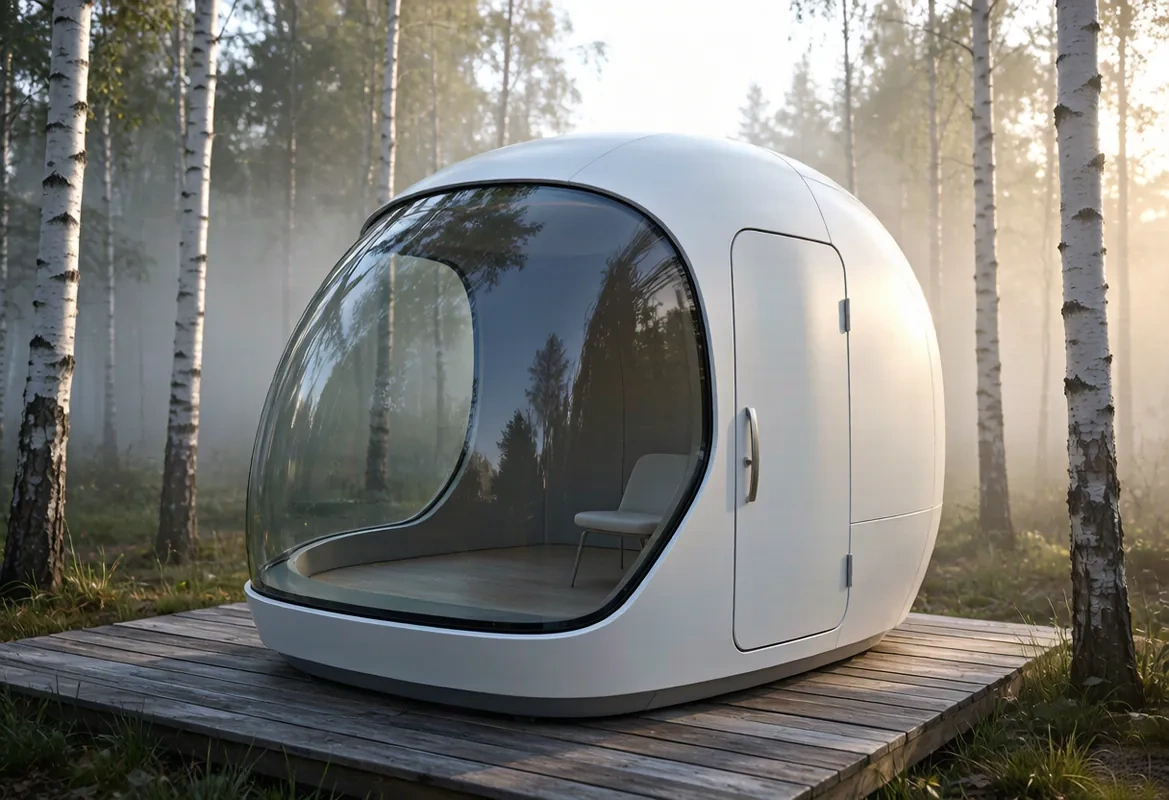
Capsule Home Cost Guide: What You Really Pay in 2026
EXW, shipping, install and the hidden line items — a transparent breakdown of total landed cost.
Read article →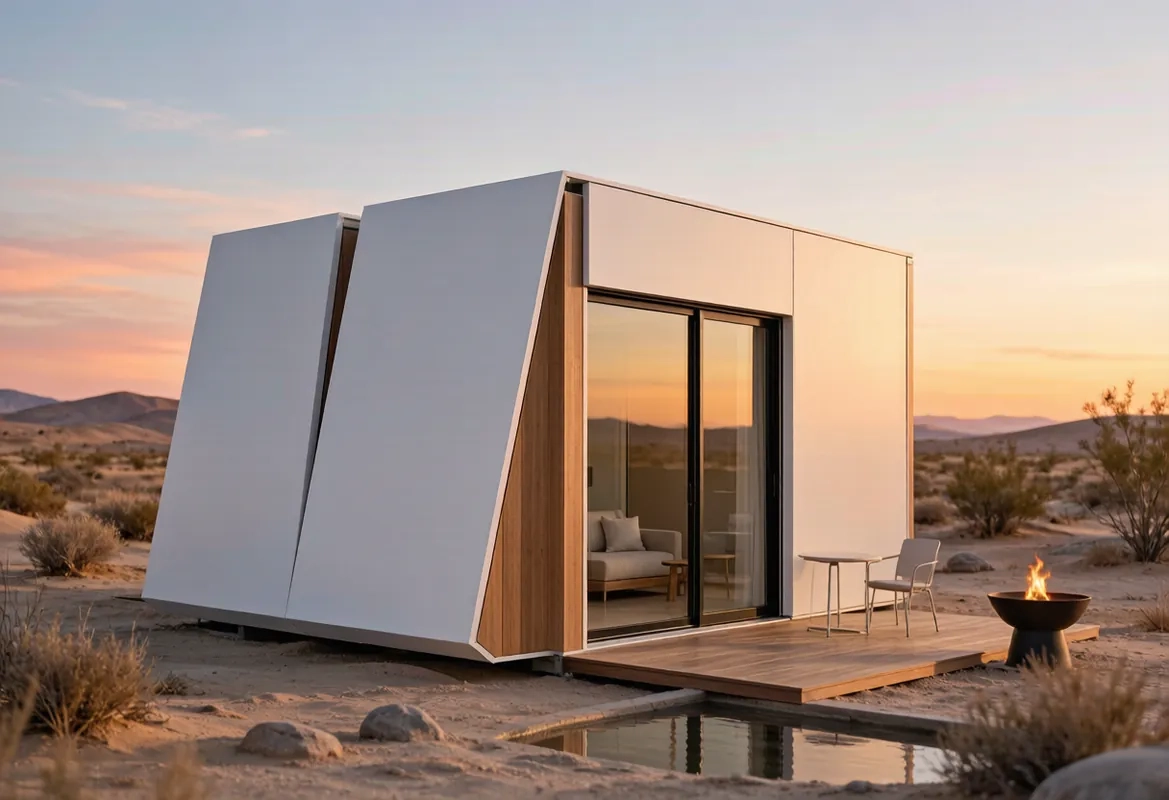
How to Install a Capsule Home in 3 Days: A Step-by-Step Guide
From site prep to first guest — the exact sequence our install crews follow on every deployment.
Read article →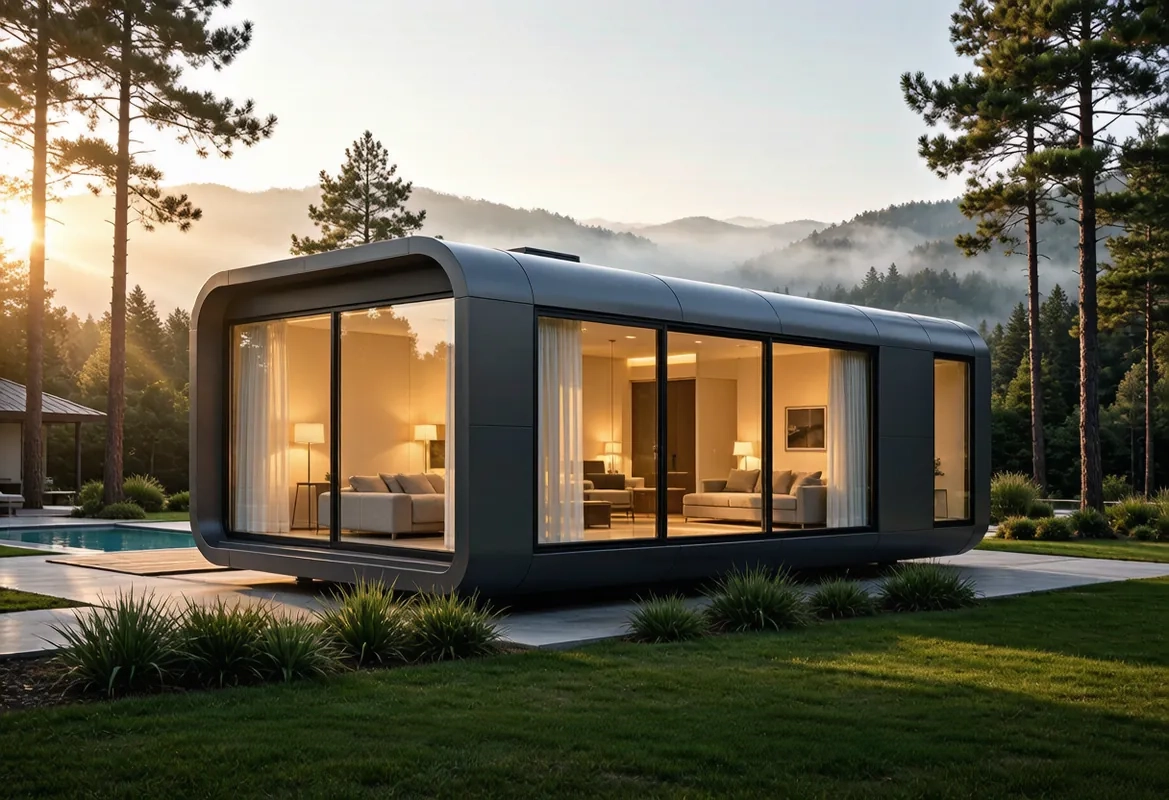
Real Owners, Real Numbers: Success Stories
How a lakeside resort, a Spanish glamping site and a Singapore dealer hit their targets.
Read stories →Talk to the Factory
Ready to Ride the 2026 Wave?
Get the latest catalog, pricing tiers and a layout sketch for your land — straight from the engineering team.