Outdoor Gear Storage for Capsule Rentals: Bikes, Boards, Skis and Boots
How to plan outdoor gear storage at a capsule home - covered space, ventilation, drying, security, and the layouts that stop wet kit ending up in the living area.
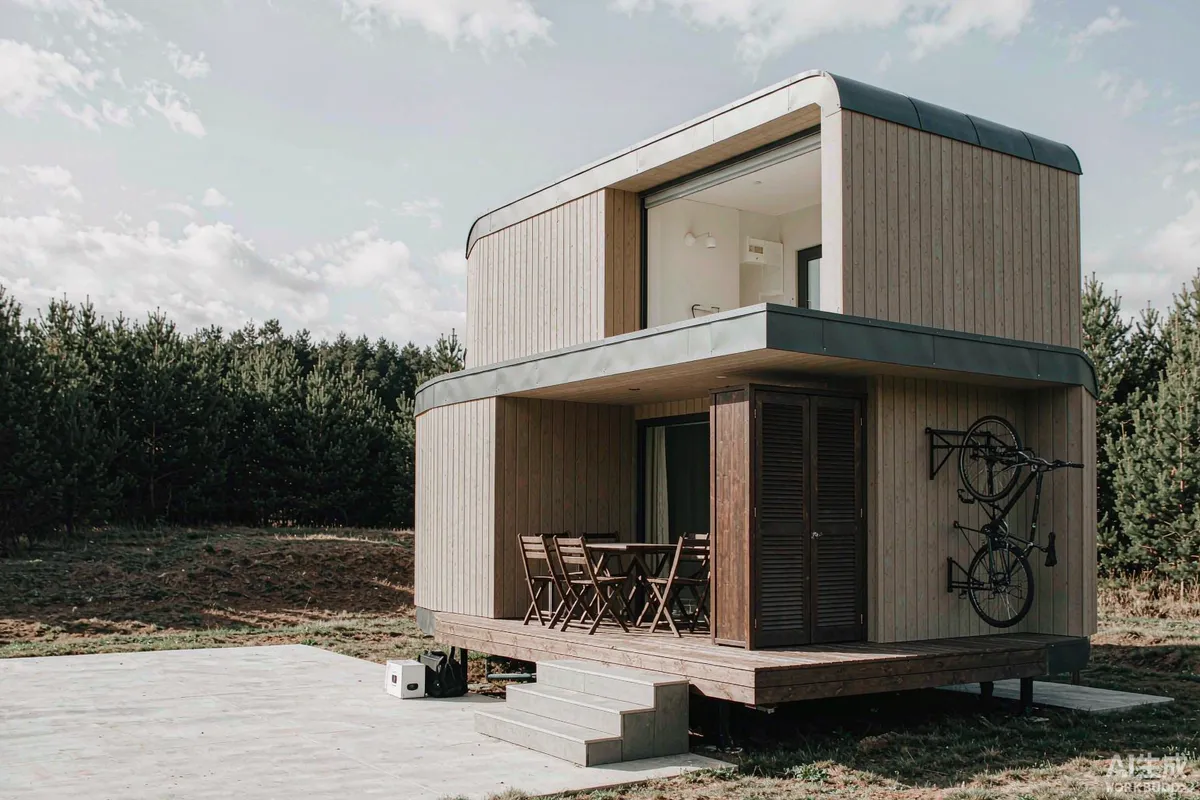
Guests who book a capsule home in a natural setting arrive with equipment: bikes, kayaks, paddleboards, skis, boots, wetsuits, fishing kit. In a compact interior there is nowhere to put any of it, which means it ends up in the living area - leaning against a glazed wall, dripping on the floor, and occupying the space the guest paid for.
Providing somewhere for it is one of the highest-value small additions you can make to a unit. It costs little, it prevents a category of wear on the interior, and guests notice immediately. It is also one of the most frequently mentioned positives in reviews when it is done well.
Start With What Guests Actually Bring
Storage should be designed around the real inventory, and that depends entirely on location and season.
- Lakeside and coastal sites - kayaks, paddleboards, wetsuits, dry bags, fishing equipment.
- Hill and forest sites - bikes, hiking boots, walking poles, backpacks, muddy dog kit.
- Snow sites - skis, snowboards, boots, helmets, wet outerwear, avalanche equipment.
- General touring sites - bicycle panniers, camping equipment, children's gear.
- All sites - wet coats, umbrellas, wellington boots, and the shopping that comes with a self-catering stay.
Ask returning guests, or read your own reviews for mentions. Guests tend to say what they struggled with, and the answer is usually storage.
Where the Storage Goes
The overriding rule is that wet and dirty items should stop before the living space, not inside it. That points to the threshold zone.
- Covered entry or porch - the first and best location, because it is on the way in.
- Under or beside the deck - accessible, and does not consume interior floor area.
- A dedicated external cabinet or locker - secure, ventilated, and visually tidy.
- A small utility space inside, if the layout has one - for drying rather than storage.
- A shared store at park level - for large items like kayaks and bikes, where several units share one facility.
- Never in the sleeping area, and ideally not against the glazing, where wet kit and condensation compound each other.
Location beats capacity. A modest store by the door gets used constantly; a large one at the far end of the site does not.
Ventilation and Drying
Wet equipment stored without airflow becomes a problem: mildew, odour, corrosion, and damage to whatever it is sitting on. Ventilation is not optional.
- Ventilate the store at high and low level so air actually moves through rather than sitting.
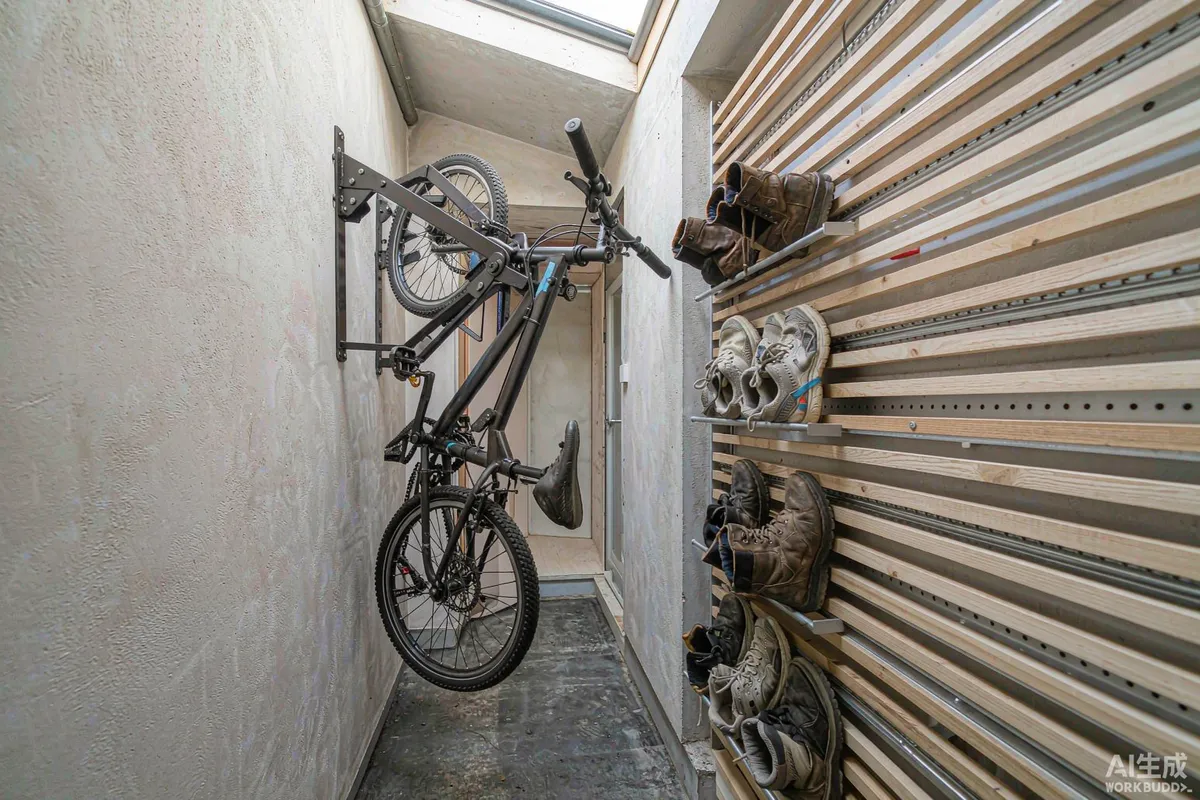
- Use slatted or open shelving rather than solid surfaces that trap moisture.
- Provide a drip zone with a surface that can get wet, and ideally a drain or a gap below.
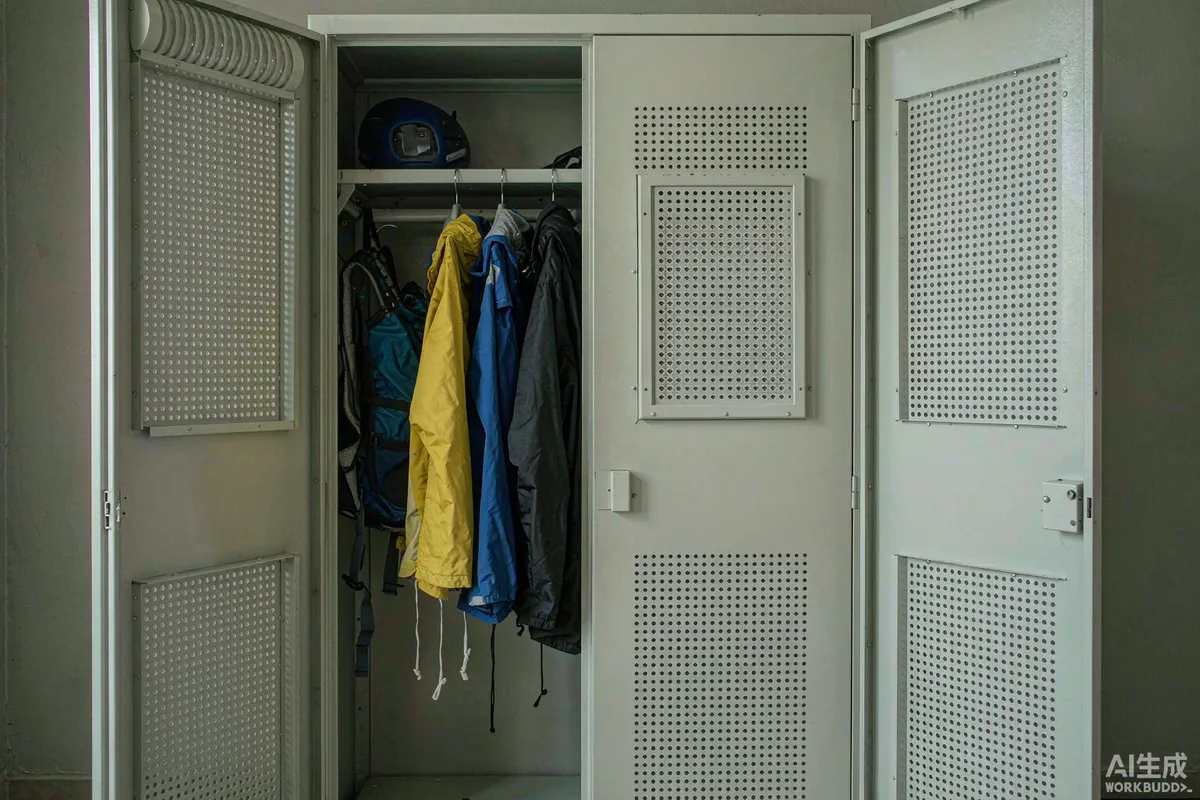
- Allow hanging space for coats and wetsuits, because folded wet fabric does not dry.
- Consider a heated drying cabinet on snow sites, with the electrical load accounted for.
- Check the store periodically for damp, particularly in the shoulder season.
On humid or coastal sites, assume anything stored wet will stay wet unless air moves. If the store cannot be ventilated, it should be a place for dry equipment only, and that should be stated to guests.
Security Without Making It Awkward
Guests want their equipment secure, but a storage arrangement that is complicated to use will simply not be used.
- A lockable store with a simple, reliable lock - and a clear instruction on how it works.
- A designated anchor point inside for locking bikes to, which is what most guests actually want.
- Keyless or coded access where the site already uses it, so there is one fewer thing to lose.
- Good lighting at the store, because guests arrive back after dark.
- Visibility from the unit where possible, which deters opportunism better than most locks.
- A clear statement in the welcome folder about what the site is and is not responsible for.
Be careful with that last point. Over-promising security in writing can create an expectation you cannot meet; under-explaining it leaves guests guessing. State what is provided plainly, and advise guests to use the anchor provided.
What to Provide Inside
A store becomes genuinely useful with a small amount of kit rather than elaborate fittings.
| Item | Purpose |
|---|---|
| Wall-mounted bike rack or hooks | Keeps bikes off the floor and out of the walkway |
| Slatted bench or boot rack | Boots upside down or angled so they drain and dry |
| Heavy-duty hooks | Coats, wetsuits, dry bags, helmets |
| Open shelving | Smaller items, clearly separated from wet kit |
| Kayak or board cradle | Off the ground, and not leaning where it can fall |
| Anchor point | For guests to lock their own bikes to |
| Mat or grate | A surface that tolerates water and mud |
| Hose or outdoor tap | Rinsing sand and mud off before storage |
An outdoor tap or hose is worth more than most of the rest. Equipment rinsed before storage arrives in the store clean, which is most of the maintenance problem solved.
Keeping Mud and Water Out of the Interior
The storage space is only half the solution. The transition into the unit is where dirt actually gets in.
- A scraper mat outside and an absorbent one just inside.
- A defined place for footwear at the threshold, not "anywhere near the door."
- A boot tray that can be emptied and wiped.
- A floor surface at the entrance that tolerates water and grit rather than one that stains.
- Hooks at the door for wet coats, so they are not draped over furniture.
- A clear instruction in the welcome folder about where wet kit goes.
None of this is expensive. All of it reduces cleaning time and finish wear over a season, which is where the return actually shows up.
Maintenance of the Store Itself
A store that is not maintained becomes a cupboard nobody wants to open. Put it on the same calendar as the rest of the unit.
- Clear it out between stays - forgotten items are common.
- Sweep and check for standing water each turnover.
- Inspect for damp, mould and corrosion seasonally.
- Check hooks, racks and fixings - loaded hooks pull out over time.
- Clear the ventilation openings of leaves and cobwebs.
- Check locks and lighting before each season.
- Log and store lost property with a date, and a policy for how long it is kept.
Snow Sites and Family Gear
Two situations deserve specific treatment, because generic storage fails in both.
- Snow equipment is heavy, sharp and wet. Skis and boards need vertical or angled storage where they cannot slide out; edges damage floors and each other.
- Boots need active drying, not just air. On a snow site, a heated boot and glove dryer is close to essential rather than a luxury.
- Provide a bench at sitting height - pulling ski boots off while standing is how guests injure their backs.
- Plan the snow clearance so the store door can actually be opened after a heavy fall.
- Family gear is bulky and numerous - pushchairs, child seats, toys, wellingtons for several sizes.
- Families need volume more than organisation, so a generous open store beats a cleverly fitted small one.
- Provide a low hook or two so children can reach their own coat, which parents appreciate more than adults notice.
Both cases point the same way: design for the wettest, heaviest and most numerous kit you expect, and everything lighter will be fine.
A Short Checklist
- Gear types identified for the site and season.
- Storage placed at the threshold, before the living space.
- Ventilated, with slatted or open surfaces and a drip zone.
- Hanging space for coats and wetsuits.
- Bike rack, boot bench, hooks and an anchor point provided.
- Outdoor tap or hose for rinsing.
- Lockable, lit, and visible from the unit where possible.
- Mats and a boot tray at the interior threshold.
- Cleaned and inspected every turnover and each season.
Requirements for electrical installations in drying cabinets, outdoor taps and any fixed storage structure may vary by application, market and applicable standard. Confirm with a qualified local installer before specification.
More from the Blog
Capsule Home Cost Guide: What You Really Pay in 2026
EXW, shipping, install and the hidden line items — a transparent breakdown of total landed cost.
Read article →
How to Install a Capsule Home in 3 Days: A Step-by-Step Guide
From site prep to first guest — the exact sequence our install crews follow on every deployment.
Read article →
Real Owners, Real Numbers: Success Stories
How a lakeside resort, a Spanish glamping site and a Singapore dealer hit their targets.
Read stories →Talk to the Factory
Ready to Ride the 2026 Wave?
Get the latest catalog, pricing tiers and a layout sketch for your land — straight from the engineering team.