Heating and Cooling a Capsule Home: Sizing, Options and Setup
Size climate control to the glazing and envelope, not floor area alone. A step-by-step guide to equipment choices, placement and electrical planning for capsule homes.
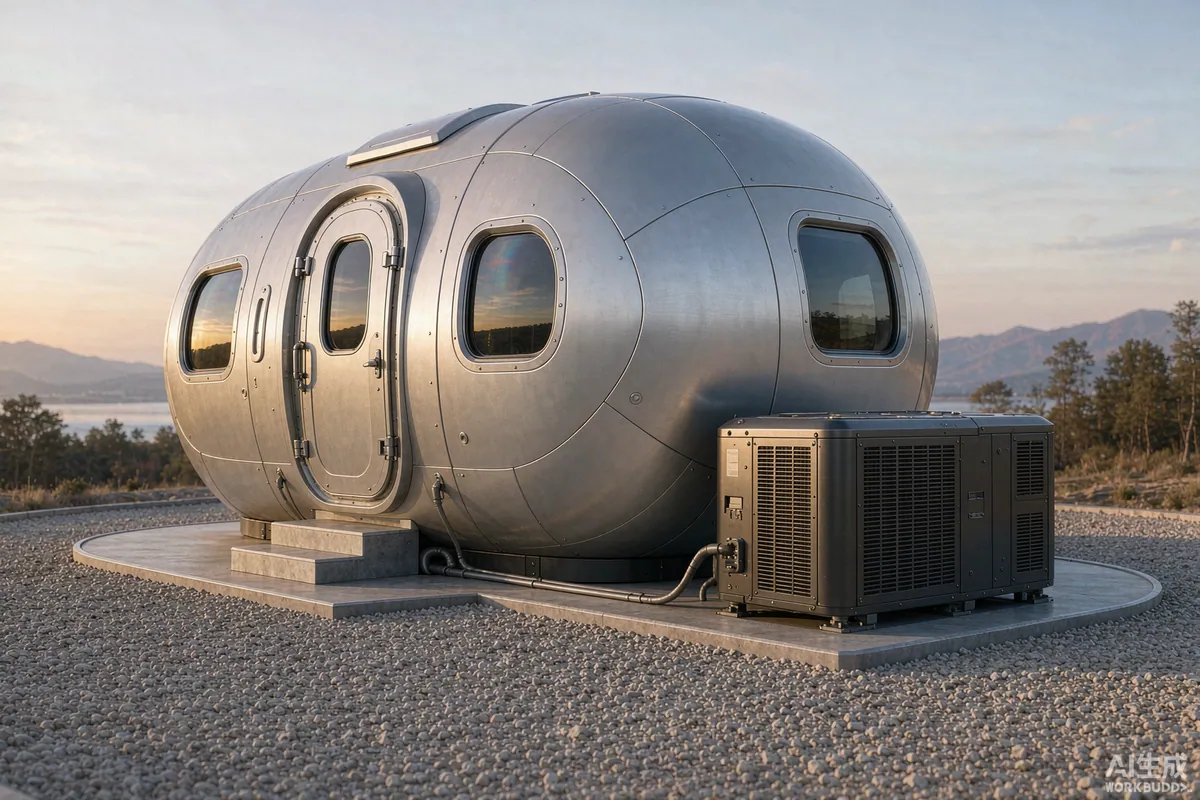
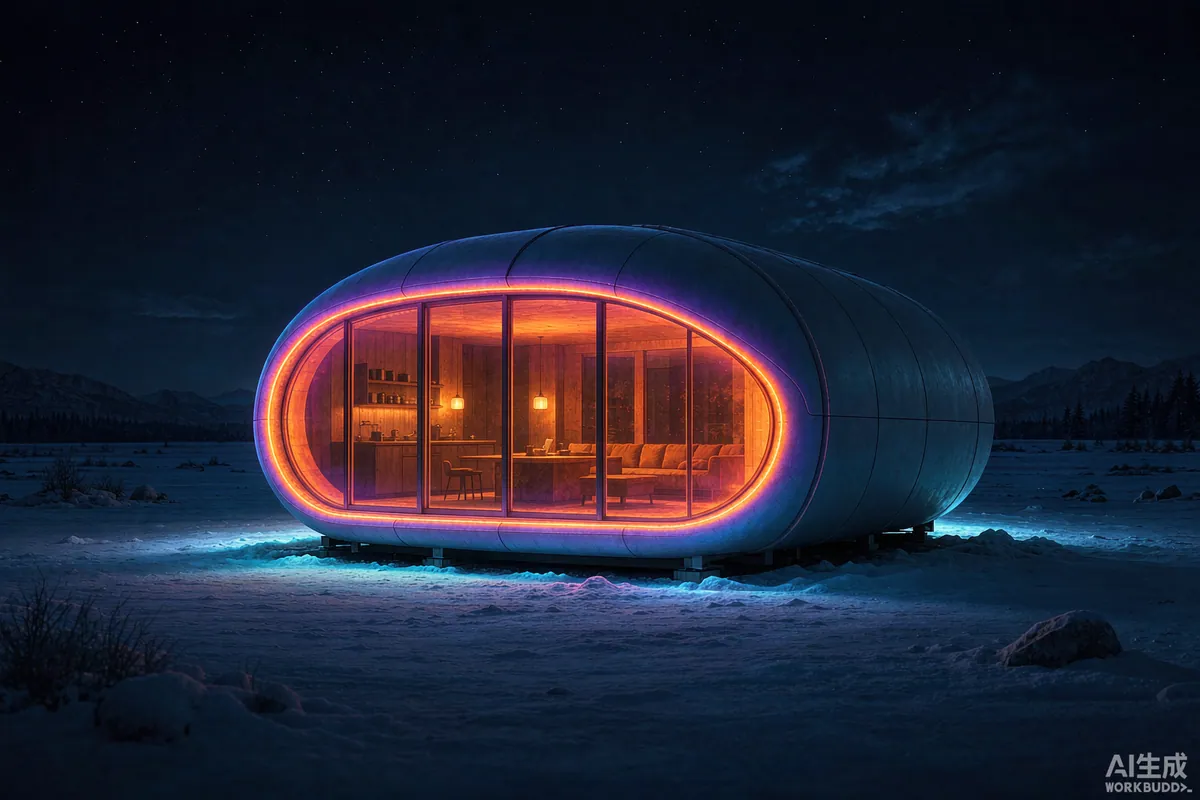
Size the climate system to the envelope and the glass, not to the floor area. A capsule home with a large panoramic window has a very different load profile from a conventional room of the same size: fast solar gain on a clear day, rapid loss on a clear night, and a small internal volume that responds quickly in both directions. In practice most units are conditioned by one inverter heat pump - a mini-split or a compact ceiling cassette - with electric underfloor heating in the bathroom for comfort. Shading and glazing specification reduce the load more effectively than fitting a larger machine.
The Short Answer
Pick one properly sized inverter heat pump for heating and cooling, add targeted underfloor or panel heating in wet rooms, and invest first in shading and glazing. Oversizing is a real risk in a small, well-insulated volume: a unit that is too large cycles on and off, controls humidity poorly and costs more to run than a correctly sized one.
Step 1: Understand What Drives the Load
- Glass area and orientation. West-facing glass produces the hardest cooling peak; south-facing glass (in the northern hemisphere) produces useful winter gain if it can be shaded in summer.
- Glazing specification. Double or triple glazing with a low-emissivity coating changes both the heating and the cooling load.
- Air tightness. A sealed envelope holds conditioned air; leaks around doors and service penetrations undo it.
- Occupancy pattern. A rental unit that is empty for three days and then fully occupied behaves differently from a permanent home.
- Climate extremes. Design for the coldest and hottest weeks you actually expect, not the annual average.
Step 2: Compare the Equipment Options
| Option | Where it fits | What to watch |
|---|---|---|
| Inverter mini-split (wall head) | Most single-level units; one head covers an open plan | Air throw across the room, visible indoor unit, condensate drain route |
| Compact ceiling cassette | Units where wall space is all glass | Needs ceiling void; condensate pump usually required |
| Electric underfloor mat | Bathrooms and small wet areas | Slow response; a comfort feature, not the primary heat source |
| Radiant panel | Supplementary heat in a bedroom zone | Surface temperatures and clearances |
| Wood or pellet stove | Off-grid or very cold sites | Flue penetration, clearances, fuel storage, local air-quality rules |
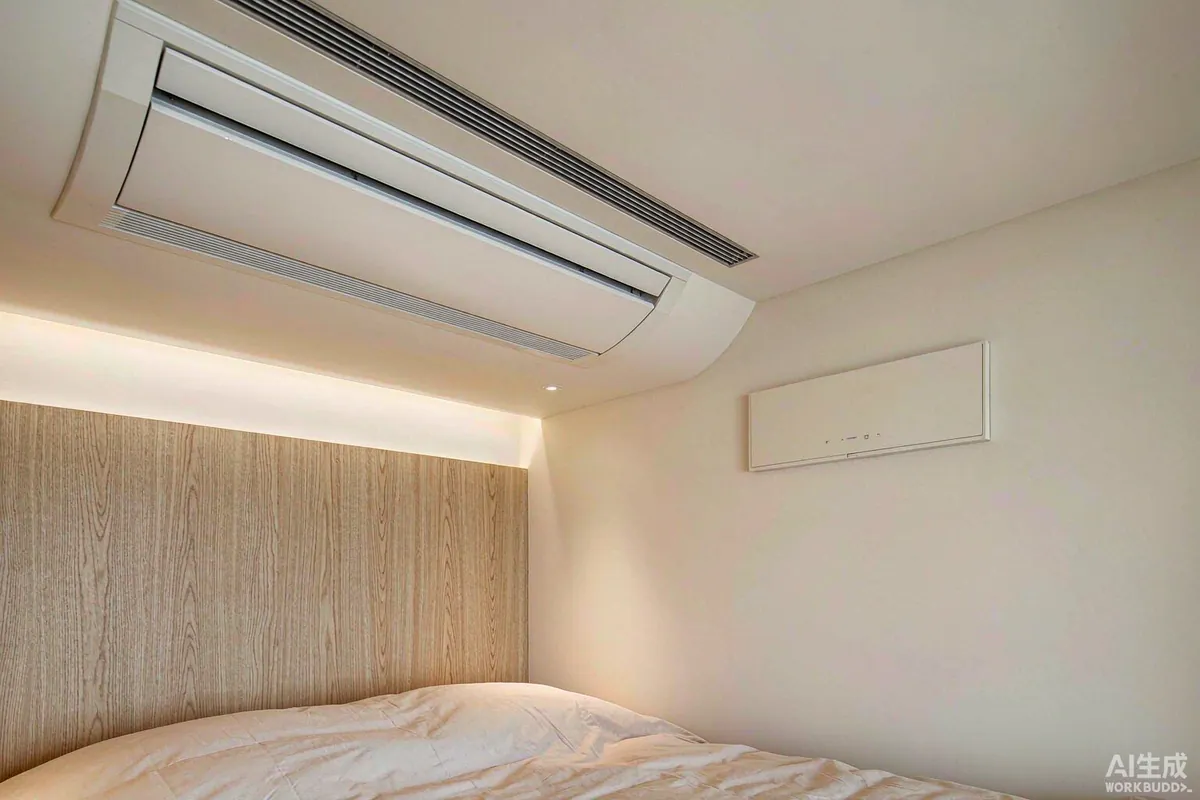
Step 3: Choose the Equipment by Use Case
Owner-occupied, temperate climate
One inverter mini-split with a heating capability matched to your winter design temperature, plus a small underfloor mat in the bathroom. Add external shading on the west elevation and you will likely never touch the cooling setpoint.
Rental or glamping unit
Prioritize fast recovery and simple controls. Guests will open doors, override settings and leave windows open. Choose equipment with a clear, lockable control interface and a setback schedule, and make sure the unit can bring the space back to temperature quickly between changeovers.
Cold climate or high altitude
Confirm the heat pump's operating range at low outdoor temperatures, and plan a supplementary heat source for the coldest periods. Ask the supplier how the unit performs in defrost cycles, because that is when comfort complaints start.
Off-grid or limited supply
Start with the envelope and the shading, then size the electrical system to what remains. A smaller, well-insulated load is far cheaper to support with batteries than a large one is.
Step 4: Place It So It Works
- Indoor head. Position it so the air stream sweeps the room rather than blowing directly at the bed or the seating area.
- Outdoor unit. On anti-vibration feet, with clear airflow on all sides, away from the sleeping zone and away from a neighbour's window.
- Condensate. Decide where the water goes before installation. Gravity drainage is simpler than a pump and one less thing to fail.
- Refrigerating pipe run. Keep it short and within the manufacturer's limits for both length and height difference.
- Service access. Leave room to clean filters and reach the isolation valves. Equipment that cannot be serviced gets neglected.
Step 5: Plan the Electrical Provision
Confirm the supply voltage, frequency and phase available at your site, then have a qualified electrician size the circuit, protective device and isolator for the equipment you are fitting. Do not guess this from the appliance nameplate alone: starting current, defrost cycles and simultaneous loads all matter. If the unit will run on a generator or an inverter, check the surge capability as well as the continuous rating. Requirements may vary by application, market and applicable standard.
Step 6: Ventilation and Air Quality
A tight envelope is good for energy use and bad for air quality if nothing replaces the air you use. Two people sleeping in a sealed unit consume oxygen and generate moisture and carbon dioxide; cooking and showering add more moisture still. Without deliberate ventilation, that moisture ends up on the coldest surface available, which in a capsule with large glazing is usually the glass - and then the frame, and eventually the lining.
Three approaches are common. Trickle ventilation through controlled background vents provides continuous low-rate air change. Mechanical extract in wet rooms removes moisture at source and is the single most effective intervention for condensation. Mechanical ventilation with heat recovery recovers most of the heat from the outgoing air and is the most efficient option in cold climates, at higher capital cost and with filter maintenance to plan for.
Whichever you choose, make it a specification line rather than an afterthought. Ask where the supply air enters, where it leaves, and whether the route actually crosses the room rather than short-circuiting between two adjacent vents. Then check it on commissioning day with something as simple as a bathroom mirror after a shower.
Step 7: Commission and Hand Over
Run the system in both heating and cooling before you accept the unit, and check three things: that the condensate actually drains, that the outdoor unit is quiet from inside with the windows closed, and that the controls do what the manual says. Ask for the equipment documentation, the filter cleaning interval and the warranty registration. If the unit is a rental, write a one-page instruction card for guests - it prevents most out-of-hours callouts.
Common Mistakes
- Sizing from floor area instead of glazing and orientation.
- Installing an oversized unit that short-cycles and never dehumidifies properly.
- Leaving the west elevation unshaded and then paying for it every afternoon.
- Forgetting the condensate route until the ceiling is closed.
- Mounting the outdoor unit directly against a bedroom wall.
- No service access, which turns a ten-minute filter clean into a half-day job.
- No ventilation strategy, which shows up as condensation on the glass the first cold week.
Seasonal Operation
Two settings make a noticeable difference across the year. In winter, hold a steady, moderate setpoint rather than letting the unit fall to a low temperature and recovering it - a small, well-insulated volume responds quickly, but the plant works harder for a large swing than for a steady state. In summer, close shading on the sun-facing glass before the space heats up rather than after; once the structure has absorbed heat, cooling it back down costs more than preventing it. If the unit stands empty for weeks, use a setback or a humidistat setting rather than switching the system off entirely, because a sealed, unventilated space is where damp problems begin.
The Takeaway
Comfort in a capsule home is mostly decided before the equipment is chosen. Get the glazing and shading right, size the heat pump to the real load, place it so you cannot hear it, and give it a proper electrical supply and a drainage route. If you tell Haishu the climate, the orientation and how the unit will be used, the climate package can be specified with the build rather than added afterwards.
More from the Blog
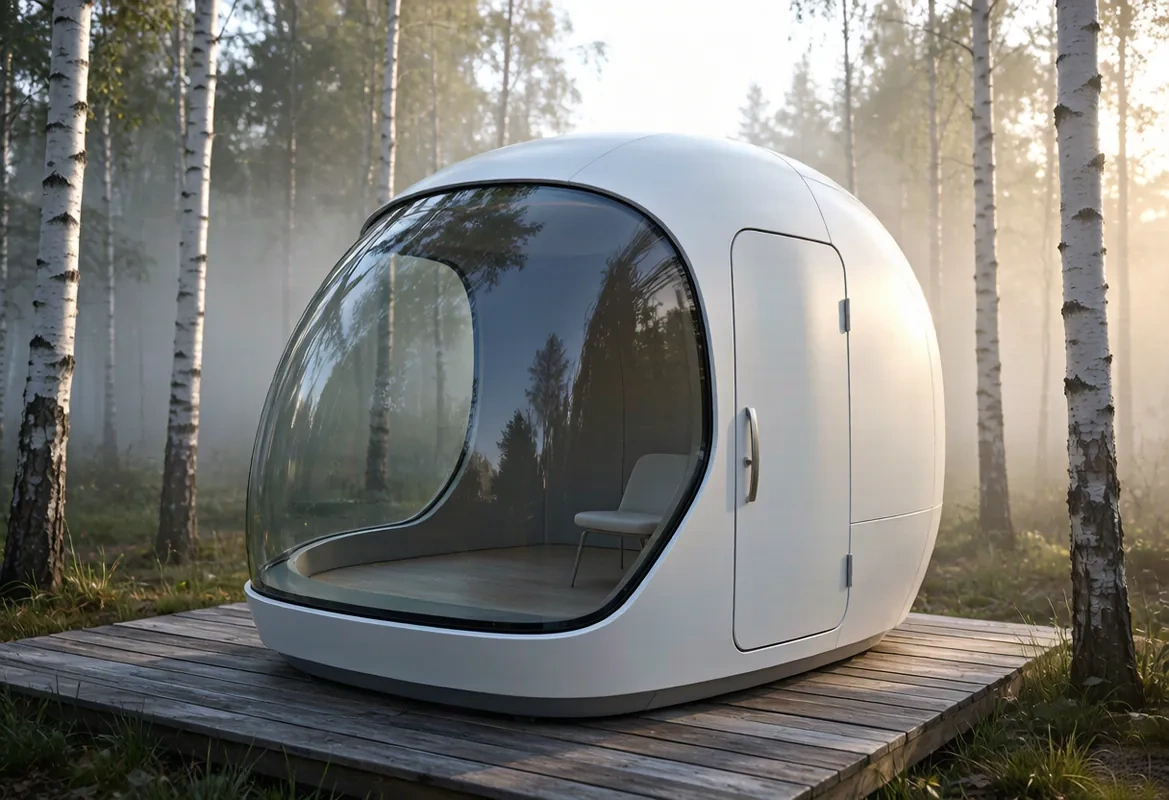
Capsule Home Cost Guide: What You Really Pay in 2026
EXW, shipping, install and the hidden line items — a transparent breakdown of total landed cost.
Read article →
How to Install a Capsule Home in 3 Days: A Step-by-Step Guide
From site prep to first guest — the exact sequence our install crews follow on every deployment.
Read article →
Real Owners, Real Numbers: Success Stories
How a lakeside resort, a Spanish glamping site and a Singapore dealer hit their targets.
Read stories →Talk to the Factory
Ready to Ride the 2026 Wave?
Get the latest catalog, pricing tiers and a layout sketch for your land — straight from the engineering team.