Siting a Capsule Home on a Wet or Flood-Prone Plot
Low-lying and poorly drained sites can work well for capsule homes if the unit is raised and the water is routed. Here is how to plan it.
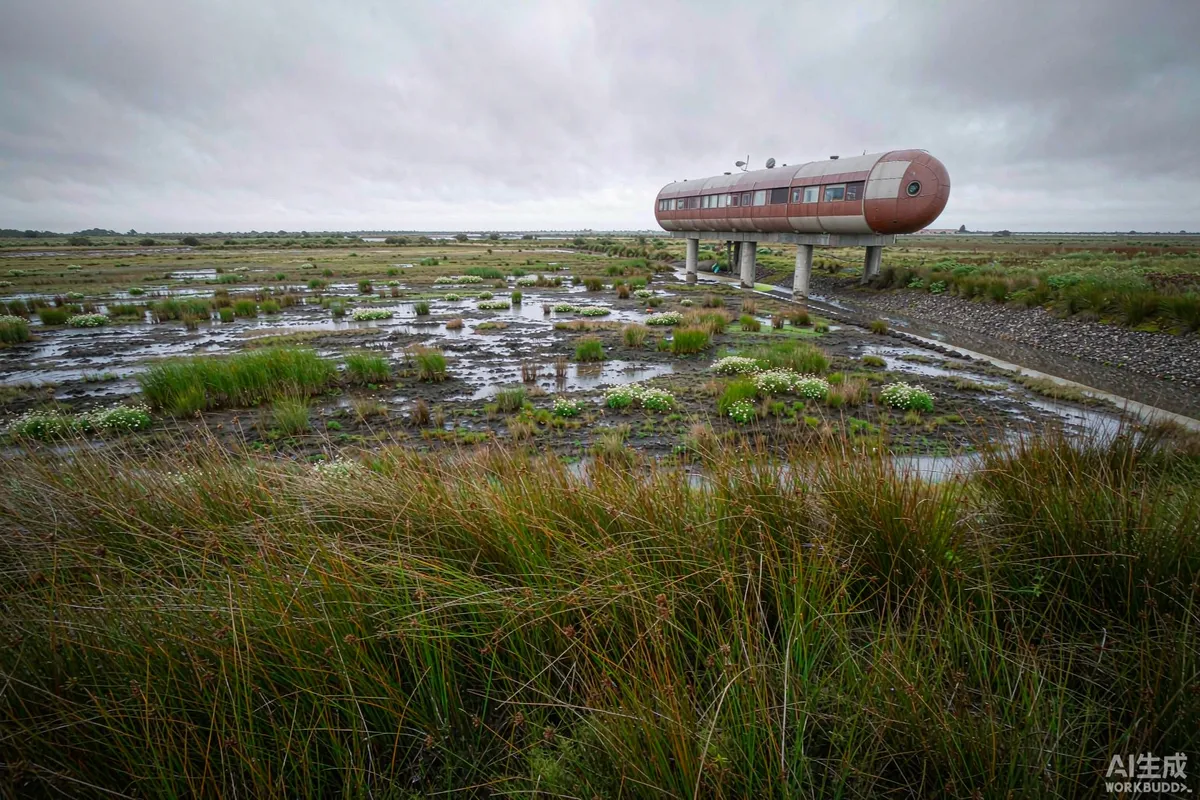
Waterfront and low-lying plots are among the most attractive places to put a capsule home, and among the ones most likely to cause problems if the water is not planned for. The good news is that a factory-built unit raised on a suitable foundation handles wet ground better than most conventional construction, because it can be lifted clear of the problem rather than defended against it. The decisions that matter are the finished floor level, the foundation type, the drainage route and the local rules - and all four are settled before the unit ships.
The Short Answer
Establish the water level the site can realistically reach, set the finished floor above it with a margin, choose a foundation that suits the ground and the water, route surface water away from and around the unit rather than through it, and confirm what the local authority permits before ordering. Raising the unit is usually far cheaper than any attempt to keep water out of it afterwards. Requirements may vary by application, market and applicable standard - flood and drainage rules are decided locally.
Understand the Water Before Choosing Anything
"Wet site" covers several different conditions, and they call for different responses. Establishing which one applies is the first task, and it is worth doing in the wet season as well as the dry one.
- Poor infiltration. Clay or compacted ground where rain sits rather than soaking away.
- Seasonal high water table. Groundwater that rises and falls through the year.
- Surface water flow. Water crossing the plot from higher ground during heavy rain.
- River or lake flooding. Water arriving from a watercourse or body of water.
- Coastal or tidal influence. Salt water, and sometimes surge on top of tide.
- Stormwater overload. Drainage that copes normally and fails in an intense event.
Ask the local authority what is known about the plot. Many jurisdictions publish flood mapping and maintain records of drainage incidents, and that information is usually free.
Setting the Finished Floor Level
The finished floor level is the single most important number on a wet site, and it should be set deliberately rather than inherited from the ground.
- Start from the known water level for the site - the mapped level, the observed high-water mark, or local knowledge.
- Add a freeboard margin appropriate to local guidance and to how much uncertainty there is.
- Account for future change. Ground settlement, altered drainage upstream and changed rainfall patterns all move the number.
- Consider the access route too. A unit safely above water is of limited use if the path to it is impassable.
- Check whether raising affects planning. Height restrictions and visual impact rules may apply.
Requirements may vary by application, market and applicable standard, so treat the margin as a question for the authority and a local engineer, not as a fixed figure from any article - including this one.
Choosing a Foundation for Wet Ground
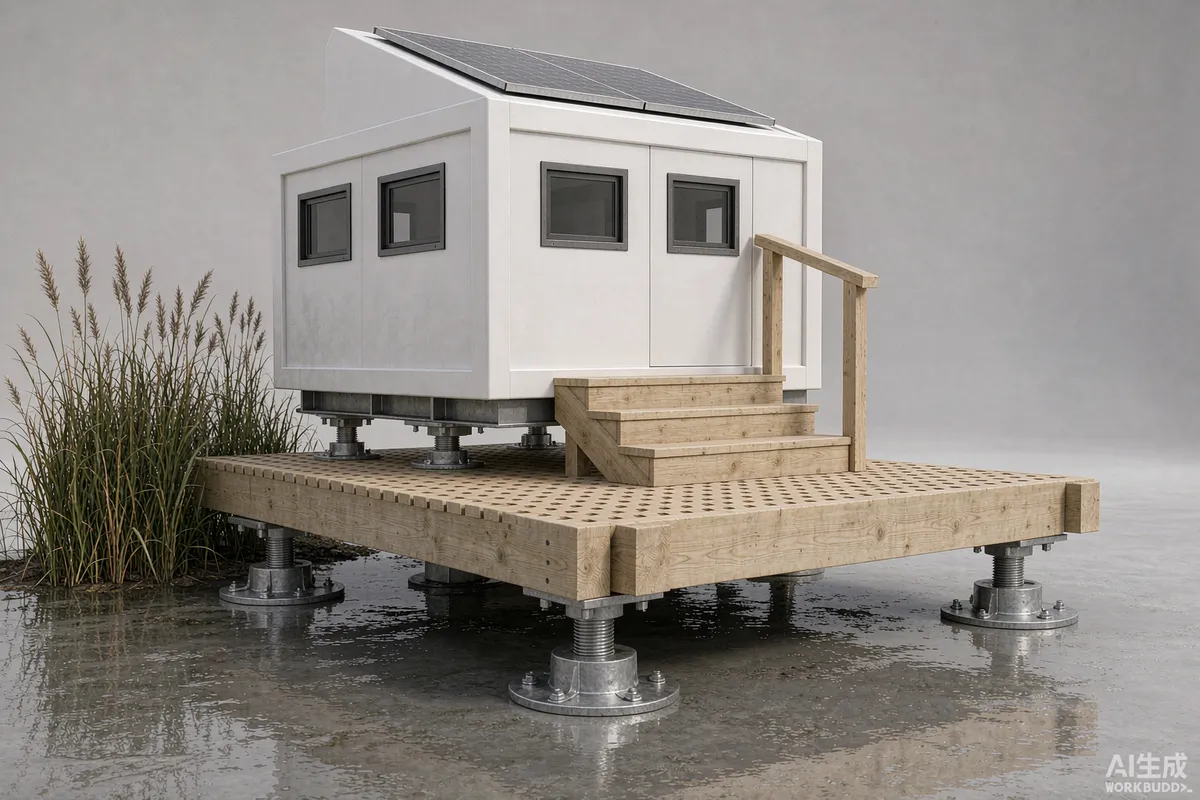
| Foundation type | Suits | Considerations |
|---|---|---|
| Piers or posts | Seasonal wet ground, sloping plots | Leaves the underside open for drainage and inspection; needs bracing and anchoring design |
| Screw piles | Soft ground, minimal disturbance | Quick to install, removable; capacity depends on ground conditions |
| Raised slab or podium | Sites needing a solid, level platform | Impermeable; must be detailed so water flows around it, not against it |
| Timber or steel frame platform | Moderate water, deck-led designs | Requires durable materials and corrosion or rot protection |
Whichever is chosen, three things matter on wet ground: the foundation must be designed for the ground conditions, it must resist uplift where flooding or exposure is possible, and it must be inspectable afterwards. A foundation nobody can check is a foundation nobody maintains.
Routing the Water
Water that reaches the site has to go somewhere, and the plan should say where before the first rain.
- Keep the unit out of the flow path. Position it where surface water naturally passes around rather than through its footprint.
- Preserve falls away from the base and re-check them after landscaping, which frequently reverses them.
- Use swales or shallow channels to carry water around the site to a suitable outfall.
- Provide a permeable margin - gravel rather than a sealed surface - so rain infiltrates near where it falls.
- Size drainage for intense rainfall, not for average rainfall.
- Keep outlets clear with a defined inspection routine; a blocked outlet undoes the whole plan.
Services on a Wet Site
- Raise electrical equipment. Any socket, panel or appliance at low level is at risk; positions should reflect the water level.
- Protect the water supply from contamination where flooding is possible, following local plumbing requirements.
- Prevent backflow from drains with suitable protection, so rising water does not enter the unit through the drainage system.
- Keep service connections above the level where practicable, and accessible for inspection.
- Have an isolation procedure and make sure whoever is on site knows it.
Access, Delivery and Installation
Wet sites are often difficult to deliver to, which is easy to overlook while the ground is dry.
- Check the access route in wet conditions, including its bearing capacity for a crane and delivery vehicle.
- Plan the delivery window around the seasons if the site is seasonally wet.
- Prepare a firm standing area for cranage if the ground will not take the load.
- Consider ground protection mats to avoid churning the site during installation.
- Confirm the unit can be placed on the foundation without the crane working from soft ground.
Materials and Details Near Water
Where water may reach the lower parts of the structure, the detailing at the base matters as much as the floor level itself.
- Keep equipment and connections out of the splash and flood zone wherever the layout allows it.
- Use corrosion-resistant fixings. Wet ground and standing water shorten the life of unprotected steel considerably.
- Choose durable materials at the base and at anything close to the ground, and avoid absorbent finishes there.
- Keep the underside ventilated so damp ground does not create a permanently humid pocket beneath the unit.
- Avoid creating a trap. Any detail that holds water against the structure will eventually find a way in.
Insurance and Records
Flood exposure affects insurability in many markets, and the paperwork is easier to assemble before an event than after one.
- Disclose the site conditions accurately when arranging cover.
- Keep the flood mapping and any engineering advice with the site file.
- Record the finished floor level and how it was determined.
- Photograph the drainage works before backfilling, so the layout is documented.
- Keep a written response plan for a flood warning: what to move, what to isolate, who to call.
How a Factory-Built Unit Helps Here
Because the unit arrives finished, the wet-weather work on site is limited to foundations, placement and connections - a much shorter exposure window than a conventional build. Haishu's A Series units are delivered as turnkey dwellings designed for efficient container transport and a short installation period, which reduces the time the site has to be workable. What needs to come from the buyer is the site information: the water level, the ground conditions, the access route and the local requirements.
The Takeaway
Establish the realistic water level, set the finished floor above it with a margin, choose a foundation designed for that ground, route water around the unit, and confirm the local rules before ordering. Raise equipment and connections, plan the delivery for the season, and document everything. On a wet plot, the unit that is lifted clear of the water and left with a clear route to drain is the one that gives no trouble.
More from the Blog

Capsule Home Cost Guide: What You Really Pay in 2026
EXW, shipping, install and the hidden line items — a transparent breakdown of total landed cost.
Read article →
How to Install a Capsule Home in 3 Days: A Step-by-Step Guide
From site prep to first guest — the exact sequence our install crews follow on every deployment.
Read article →
Real Owners, Real Numbers: Success Stories
How a lakeside resort, a Spanish glamping site and a Singapore dealer hit their targets.
Read stories →Talk to the Factory
Ready to Ride the 2026 Wave?
Get the latest catalog, pricing tiers and a layout sketch for your land — straight from the engineering team.