Door and Window Seal Checks: Finding Water Ingress Before Guests Do
A practical routine for checking door seals, window gaskets, threshold details and drainage paths on a capsule home, plus what to do when water appears at a frame during heavy rain.
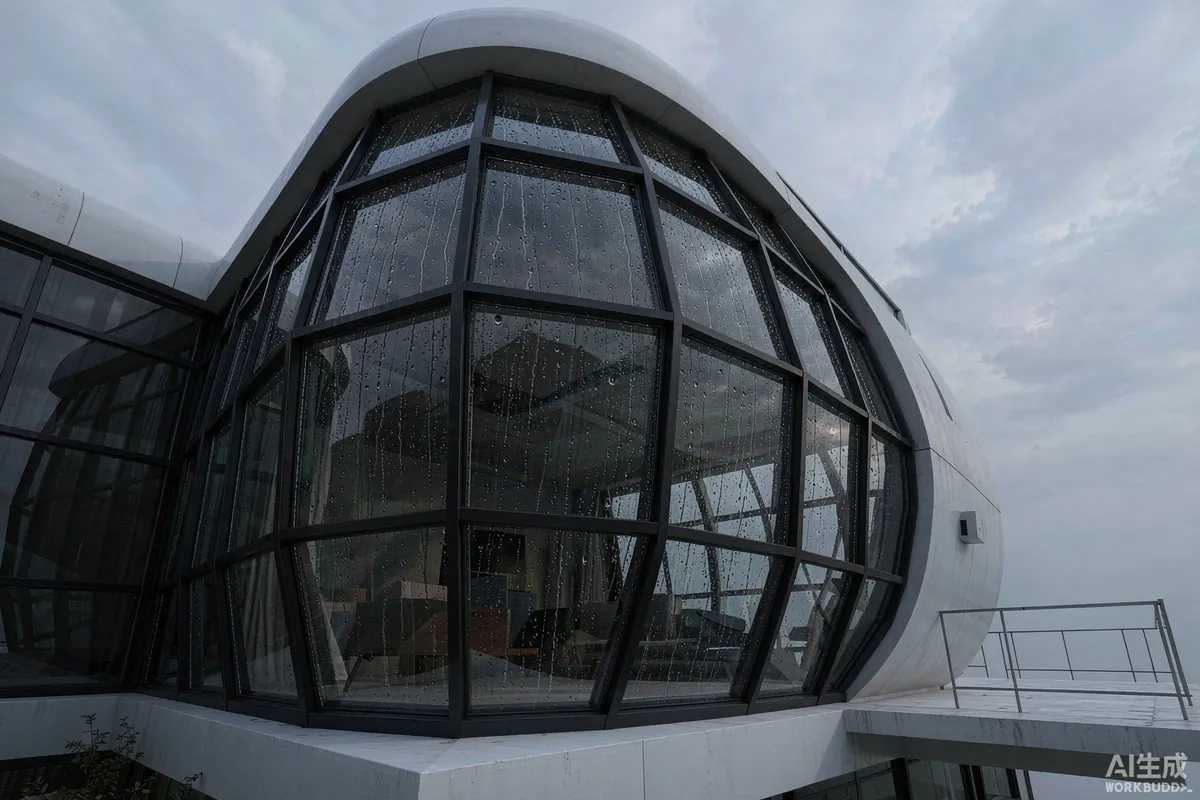
Water ingress in a capsule home almost always comes from one of four places: a compressed or displaced gasket, a threshold detail that no longer sheds water, a drainage path that has become blocked, or a penetration that was sealed at installation and has since aged. Panoramic glazing and factory-built panels are not weak points by themselves; the joints between them are where attention belongs. A routine that takes about thirty minutes per unit, run twice a year and after any severe storm, will catch nearly all of it before a guest does.
Why a Sealed Unit Still Leaks
Capsule homes are built to be tight. That tightness is what makes them efficient, and it also means that water which gets past the outer line has few ways to leave again. Understanding the two-line principle helps to diagnose problems quickly.
- Outer line. Gaskets, seals, flashings and the external profile of the frame. Its job is to shed the great majority of water.
- Inner line. Drainage channels, weep paths and internal seals that handle whatever gets past the first line.
Most visible leaks are not a failure of the outer line but a blocked inner one. Water that would normally drain away backs up and appears at the sill, which is often read as a failed seal when the seal is intact.
What to Check on Doors
Start at the entrance, because it combines a moving part, a threshold and a high-traffic wear point.
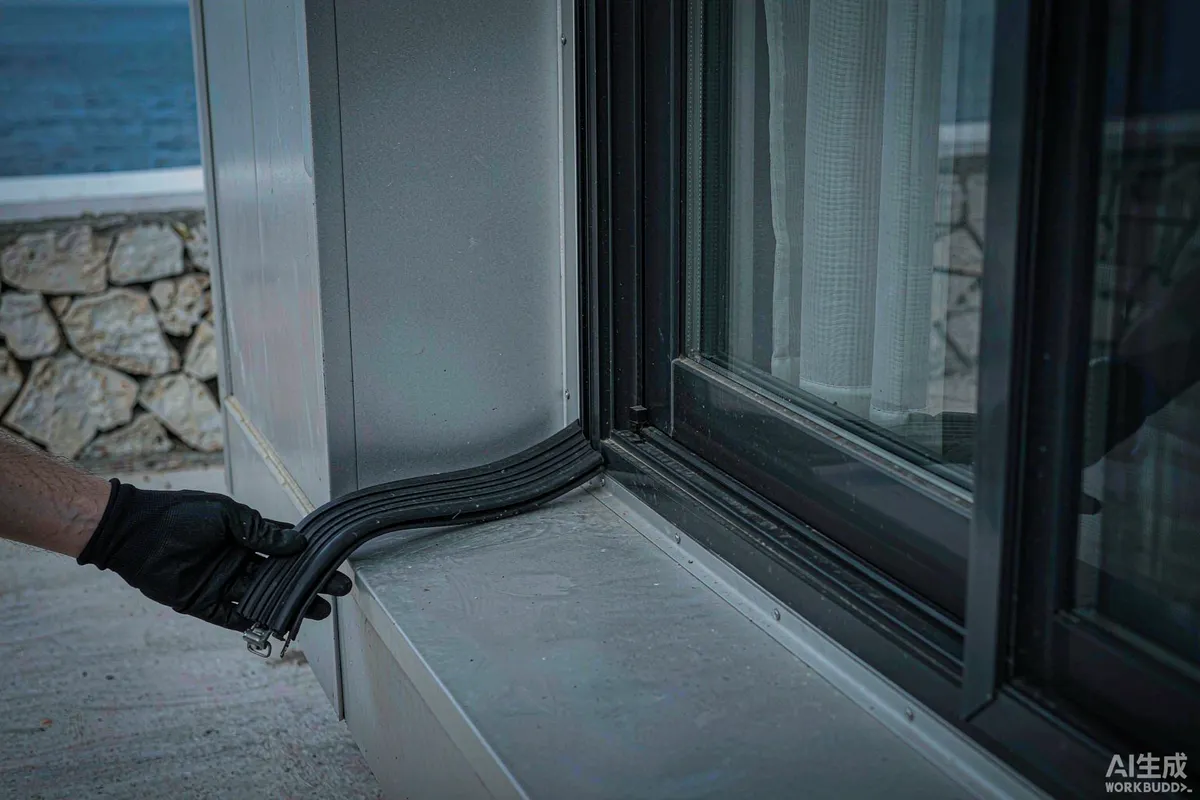
- Gasket continuity. Run a hand around the full perimeter. Look for flats, splits, and sections that have rolled out of their channel - most common at the bottom corners.
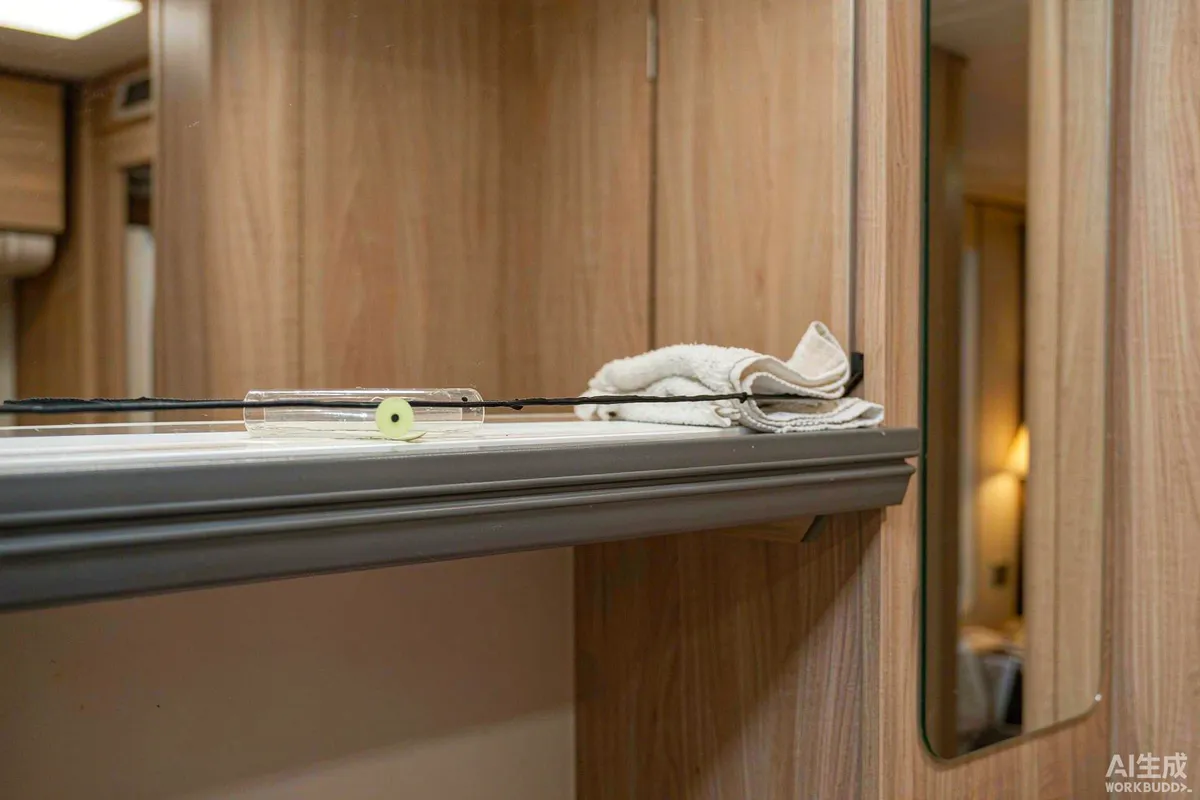
- Compression. Close the door on a sheet of paper at several points and pull. If it slides out with no resistance at any point, that section is not sealing.
- Threshold. Check that the sill slopes outward and that its drainage slots are clear. A threshold holding standing water will eventually find a way in.
- Hinge and closer adjustment. A door that has dropped slightly will compress the gasket at the top and leave a gap at the bottom.
- Sweep or drop seal. Where fitted, confirm it still reaches the threshold when the door is closed, not just when it was new.
What to Check on Glazing
Large panels deserve specific attention because their frame length is long and their drainage path is shared.
| Check | What you are looking for | Common cause |
|---|---|---|
| Frame drainage slots | Open, unobstructed, and not painted over | Debris, insects, or exterior refinishing |
| Gasket corners | Continuous mitred joints with no gap | Shrinkage over time, or a section pulled out during cleaning |
| Sill level | Slight outward fall, no standing water | Settlement of supports, or a unit no longer level |
| Perimeter sealant | Adhered at both edges, no cracking | Age, movement, or sealant applied to a damp surface |
| Operating hardware | Panel closes fully onto the seal | Adjustment drift, or an obstruction in the track |
| Internal reveals | No staining, no soft edges, no musty odour | Slow ingress that has not yet shown as a drip |
Staining on an internal reveal is the earliest visible sign and often appears well before water is seen running. If you find it, treat it as active rather than historical.
A Water Test You Can Run Without Equipment
A controlled test is more informative than waiting for weather. Use a hose on a gentle, wide setting - not a pressure washer, which forces water into places rain never reaches and produces false results.
- Work from the bottom up. Wet the lower portion of the frame first, wait, then move higher. This isolates which part of the assembly is failing.
- Run for several minutes per section. Short bursts rarely reveal a drainage problem, which needs volume to show.
- Have someone inside. One person outside and one watching the internal reveal and sill halves the time to diagnosis.
- Test the door in the closed and locked position. A door that seals only when latched is a different fault from one that leaks when latched.
- Record the result. Note date, unit, location and outcome so a repeat issue is recognisable.
After the Water Is Stopped
Finding the entry point is half the job. The other half is making sure the moisture that got in is dealt with, because a sealed, well-insulated unit dries slowly.
- Dry the affected area thoroughly and keep ventilation running while it does.
- Inspect insulation and any adjacent panel for saturation rather than assuming surface drying is sufficient.
- Check for staining on finishes and document it with photographs before any repair.
- Re-test after the repair rather than assuming the fix worked.
Telling Condensation Apart From Ingress
Not every droplet at a frame is a leak. In a well-sealed, heavily glazed unit, condensation is common, and confusing the two leads to resealing work that solves nothing. The distinction is usually visible if you know where to look.
| Observation | More likely condensation | More likely ingress |
|---|---|---|
| When it appears | Cold nights, still mornings, after a shower or cooking | During or shortly after wind-driven rain |
| Where it appears | Uniform film across the glass, at the lowest coldest edge | Localised at one corner, joint or penetration |
| Pattern over time | Appears and clears with ventilation and heating | Persists, worsens with successive storms |
| Staining | Rare initially | Common, and grows slowly |
| Response to drying | Clears and stays clear while ventilation runs | Returns at the same point without rain |
If the evidence points to condensation, the fix is ventilation and surface temperature rather than sealant: run extract during and after wet activities, keep a low background heat in cool weather, and avoid heavy window coverings pressed flat against cold glass overnight. If it points to ingress, return to the checks above and work outward from the exact point where water appears. Where the two overlap - a genuine leak made worse by condensation - deal with the leak first, then reassess, because the condensation component often disappears once the moisture source is removed.
Seasonal Routine
Twice a year, plus after severe weather, is a sensible rhythm for a rental unit. For a park with many units, the same checks can be batched by type once the routine is established.
- Before the wet season. Clear all drainage paths, check gasket continuity, confirm thresholds shed water.
- After the wet season. Look for staining that developed, re-check compression, and note any gasket that has taken a permanent set.
- After any severe storm. A short external walk of frames and thresholds; wind-driven rain behaves differently from ordinary rainfall.
- At every changeover. Ask housekeeping to report staining, odour or condensation at reveals - they see the unit more often than anyone.
Where a unit is under warranty, report findings with photographs and dates rather than descriptions alone. Where sealant or gasket replacement is required, use a product compatible with the original specification; mixing incompatible materials is a common cause of a repair that fails within a season. Requirements may vary by application, market and applicable standard.
Keep a Short Record
One page per unit, held with the maintenance log, is enough: date, what was checked, what was found, what was done. Over two or three years this tells you which details age predictably and which were one-off installation issues - and that distinction is what lets you plan maintenance instead of reacting to it.
More from the Blog

Capsule Home Cost Guide: What You Really Pay in 2026
EXW, shipping, install and the hidden line items — a transparent breakdown of total landed cost.
Read article →
How to Install a Capsule Home in 3 Days: A Step-by-Step Guide
From site prep to first guest — the exact sequence our install crews follow on every deployment.
Read article →
Real Owners, Real Numbers: Success Stories
How a lakeside resort, a Spanish glamping site and a Singapore dealer hit their targets.
Read stories →Talk to the Factory
Ready to Ride the 2026 Wave?
Get the latest catalog, pricing tiers and a layout sketch for your land — straight from the engineering team.