Briefing a Local Contractor Who Has Never Installed a Capsule Home
How to brief local trades for a first capsule home installation: what drawings to provide, the sequence, lifting points, tolerances, and the handover checks to agree in advance.
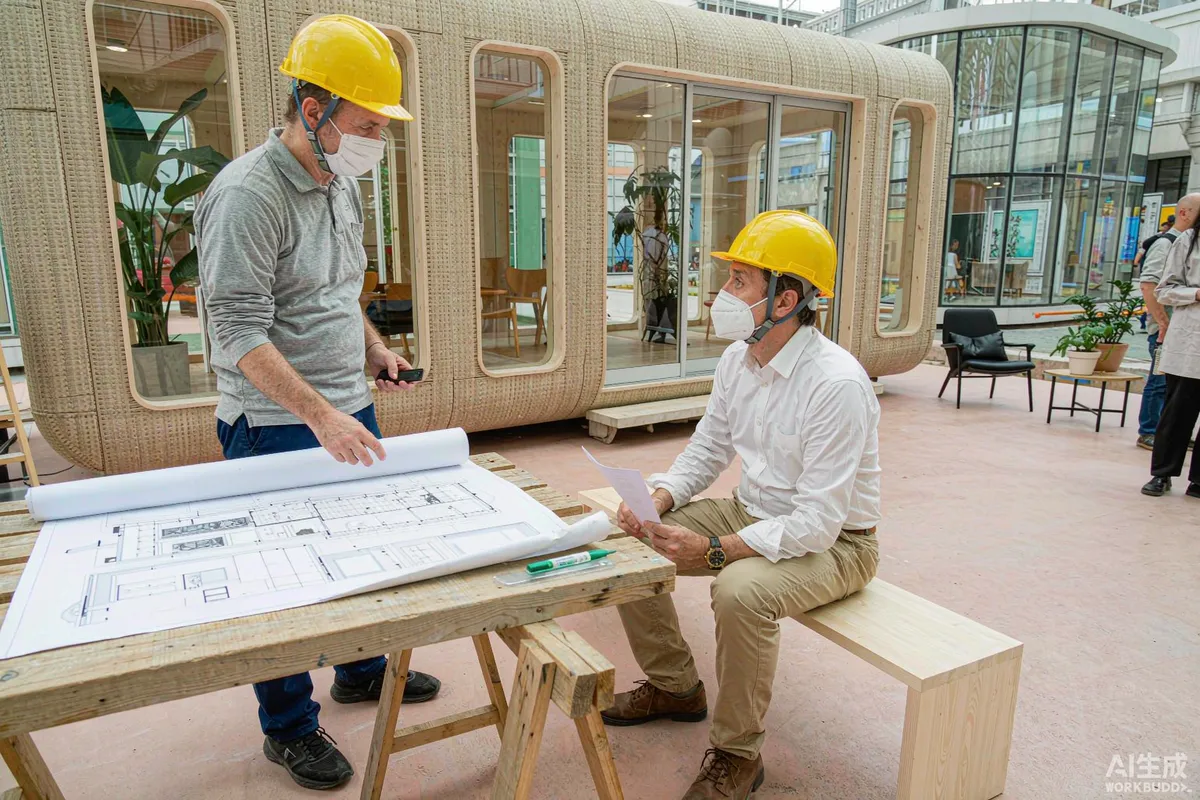
Most first installations are carried out by competent local trades who have never handled this type of unit before. That is not a problem in itself - the work is recognisable: set supports, lift, level, anchor, connect services. What causes trouble is assumption. A contractor who assumes the unit behaves like a container, or like a timber lodge, will make reasonable decisions based on the wrong model.
The fix is a proper briefing. Not a phone call - a documented pack and a meeting on site before anything arrives. The cost of that meeting is trivial compared with a single day of crane standby.
Why a Capsule Unit Is Not Quite Like What They Know
Worth stating explicitly, because these are the points where experience from other building types misleads.
| Assumption carried over | Why it differs here |
|---|---|
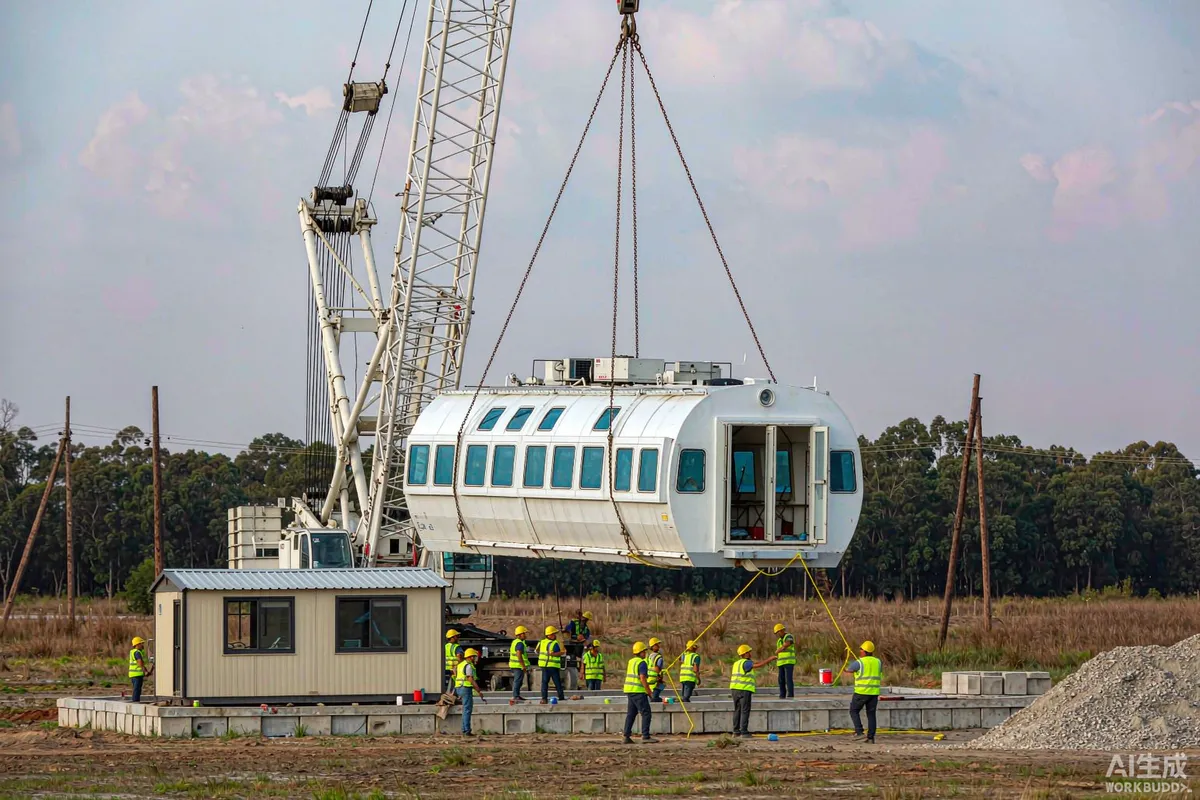
| It handles like a shipping container | Lifting and support points are designed for this unit; slinging it the way you would sling a container can distort the frame |
| Close enough on level is fine | Out-of-level shows up as doors that swing, water that will not drain, and uneven load on glazing seals |
| Services are in the usual places | Connection points are at defined positions on this unit; finding them by trial is slow and sometimes damaging |
| The crane can pick it from anywhere | There are designated lifting points, and a procedure that goes with them |
| Glazing is like a normal window | Large panels are the most fragile and most expensive items on the unit |
None of this is exotic. It is simply specific, and specificity is what the briefing has to deliver.
The Information Pack
Assemble this before the meeting and hand it over in writing. Verbal briefings are forgotten the moment three trades are on site talking over each other.
- General arrangement drawing - dimensions, weight, door and service positions.
- Foundation or support layout - positions, levels, tolerances, and bearing requirements.
- Lifting and handling procedure - designated lifting points, sling configuration, spreader, maximum tilt.
- Transport dimensions and access requirements - width, height, turning, ground bearing.
- Service connection schedule - what connects where, and in what order.
- Anchor and tie-down specification - including any site-specific wind requirement.
- Sequence of operations - what happens in what order on the day.
- Supplier contact - a named person, with time zone, for questions during the lift.
Where the supplier provides an installation manual or drawing set, that document governs. Your pack should point to it rather than paraphrase it, and any local adaptation should be confirmed with the supplier in writing before the day.
The Site Briefing Meeting
Hold it on site, with the people who will actually do the work, not only the person who won the contract.
- Walk the access route from the road to the final position, noting the worst section rather than the average.
- Identify the crane standing position and check outrigger bearing with the crane contractor, not by eye.
- Confirm the support or foundation layout against the drawing, on the ground, with a tape.
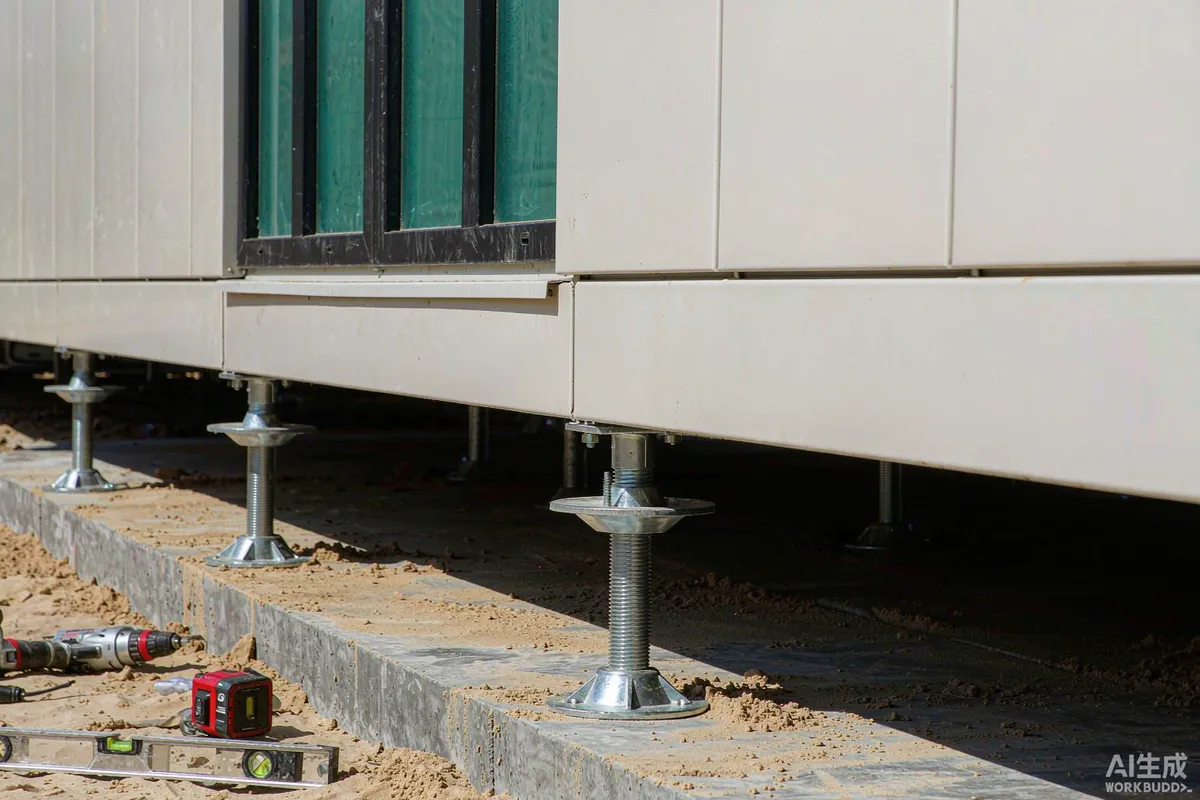
- Agree the levelling method - shims, adjustable feet, packing - and who supplies what.
- Confirm who provides lifting gear and that it is rated and inspected.
- Agree the service connection sequence and which trade does which part.
- Set the decision rule for weather - who calls it off, and at what wind speed.
- Confirm the backup plan if the crane cannot reach or the ground fails.
Walking the route together is the part that pays. Almost every access problem is visible on foot and invisible on a drawing.
Tolerances: Say the Number Out Loud
"Level" is not a tolerance. Agree the actual figures and the instrument used to check them, and put them in writing.
- Level tolerance across the unit - state it as a figure over a distance.
- Support point positions - plus or minus how much.
- Relative height between supports - and how shimming is documented.
- Door and glazing operation as the practical test - if a door swings on its own, something is out.
- Re-check after settling, and again after the first significant weather event.
Agree that levelling is checked with a level and recorded, not judged by eye. It takes ten minutes and it prevents a category of complaint that is expensive to fix afterwards.
Protecting the Vulnerable Items
Ask the contractor to name, before the lift, how each of these is protected. If nobody has thought about it, that is the moment to find out.
- Glazing - padding, and keeping slings and tag lines away from glass.
- Doors - secured closed or removed as the procedure requires.
- Exterior finish - protection at any point a sling or spreader contacts the shell.
- Roof-mounted items - anything fitted that could be struck or stepped on.
- Service inlets - capped until connection, so nothing enters during the lift.
- Interior - whether anyone walks inside during placement, and with what footwear.
Handover Checks to Agree in Advance
Write the acceptance criteria before the work, while everyone is still friendly. Deciding them afterwards, with a crane waiting, is how disputes start.
- Unit set on the correct supports and at the agreed level, recorded in writing.
- All anchors and tie-downs installed to the specified arrangement and torque where stated.
- Doors and windows open and close correctly; seals seated evenly.
- Services connected, tested and left safe - water, waste, electrical, ventilation.
- No visible transport or lifting damage; any mark photographed before the crew leaves.
- Waste and packaging removed from site.
- Documentation handed over: photographs, level record, any deviation from the drawing.
Photographs on the day are the most useful part of that handover. Take them before the crane leaves, while you still have the crew who can put something right.
Working With the Supplier
Most suppliers would rather answer a question before the lift than investigate a problem after it. Use them.
- Confirm the lifting procedure in writing before the day.
- Ask about a site supervisor or remote support option for first installations.
- Send photographs of the prepared site before the unit ships, not after.
- Raise deviations early - a support layout that has to change is far easier to agree in advance.
- Keep one written thread so decisions are traceable.
Common First-Install Mistakes
These come up often enough to be worth naming in the briefing, because each one is avoidable with a sentence said in advance.
- Access checked on a dry day only. Ground bearing after rain is a different site. Where there is any doubt, ask what happens if it has been wet for a week.
- Supports prepared to the drawing but not to the level. Positions right, heights wrong, and an hour spent shimming while a crane waits.
- No one assigned to protect the glazing. It is everybody's job, which means it is nobody's job until it is chipped.
- Services connected before the unit is finally levelled. A small re-levelling afterwards puts strain on a rigid connection.
- The crew disperses before a walkthrough. Everyone is pleased it is down, everyone leaves, and a scratched panel is discovered the next morning with nobody on site to account for it.
- Packaging left for "someone else." Agree before the day who removes it and where it goes.
Naming these aloud in the briefing meeting is slightly uncomfortable and extremely effective. Contractors generally appreciate knowing what typically goes wrong, because it lets them plan around it.
A Briefing Checklist
- Information pack sent and received, with the supplier's manual included.
- Site meeting held with the people doing the work.
- Access route and crane position walked and checked.
- Support layout confirmed on the ground against the drawing.
- Tolerances stated as figures, with the method of checking agreed.
- Lifting points and procedure confirmed with the supplier.
- Vulnerable items and their protection named.
- Weather call-off rule and backup plan agreed.
- Handover criteria and photographic record agreed in writing.
Requirements for lifting operations, crane work, anchoring and service connections vary by market and by site classification. Requirements may vary by application, market and applicable standard - confirm them with the relevant authority and with your supplier before the installation date.
More from the Blog

Capsule Home Cost Guide: What You Really Pay in 2026
EXW, shipping, install and the hidden line items — a transparent breakdown of total landed cost.
Read article →
How to Install a Capsule Home in 3 Days: A Step-by-Step Guide
From site prep to first guest — the exact sequence our install crews follow on every deployment.
Read article →
Real Owners, Real Numbers: Success Stories
How a lakeside resort, a Spanish glamping site and a Singapore dealer hit their targets.
Read stories →Talk to the Factory
Ready to Ride the 2026 Wave?
Get the latest catalog, pricing tiers and a layout sketch for your land — straight from the engineering team.